




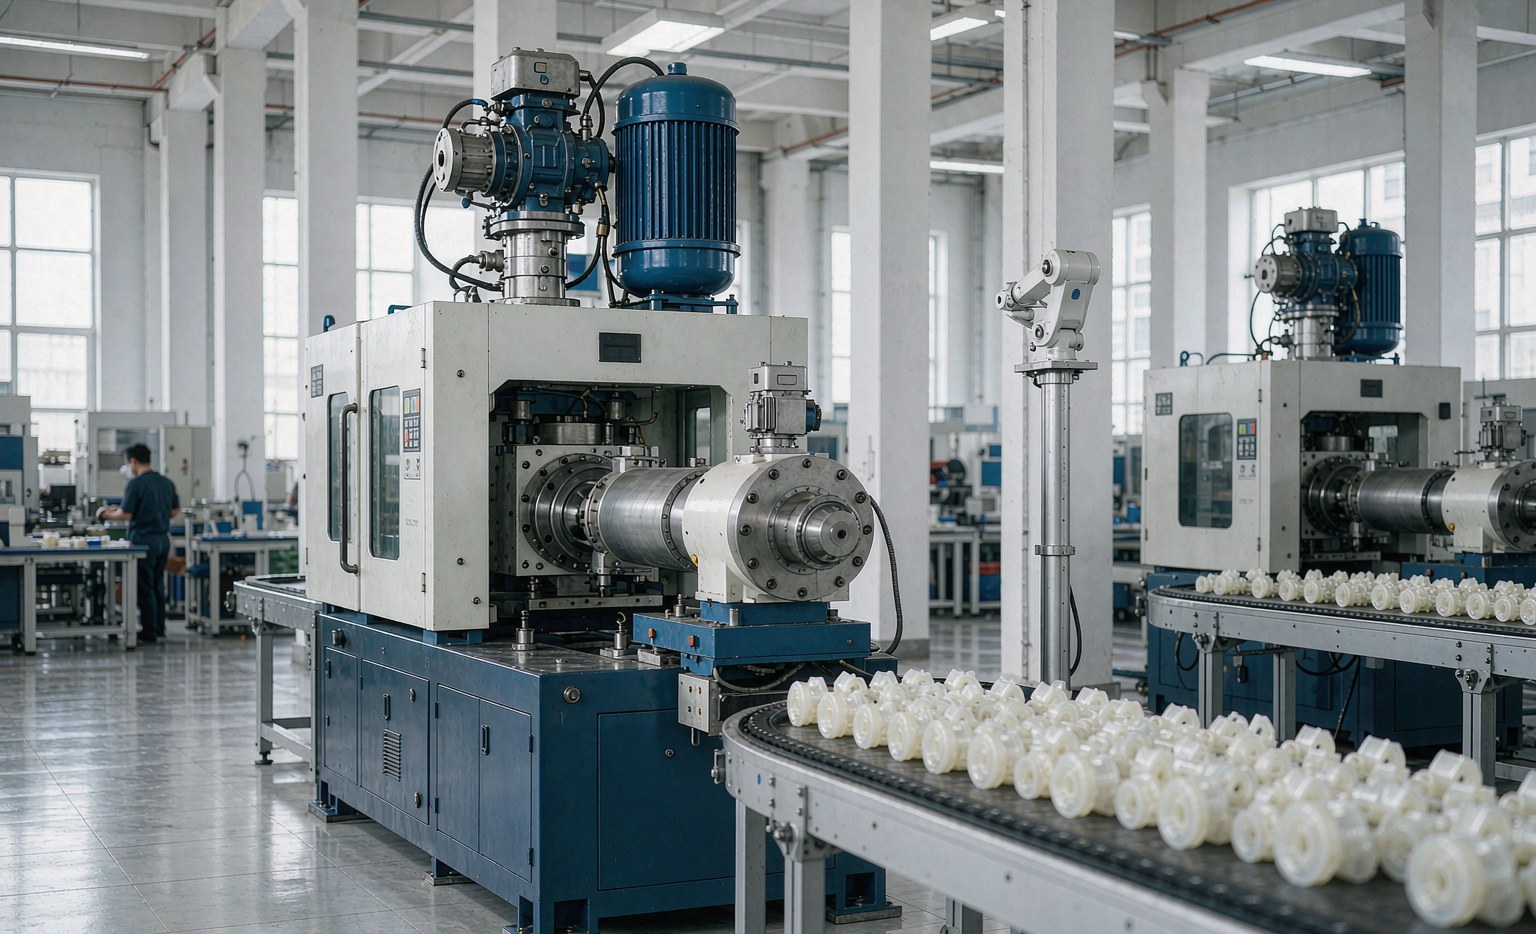
Injection molding defects are almost always traceable to three variables: material shrinkage, process setting, or tooling geometry. A molder on the floor learns to read each symptom, isolate the variable responsible, and apply the matching fix before a drift becomes a rejected batch. This field guide covers the six most common defects, their root causes, the corrections that actually work in production, and how to build a process that keeps them from coming back.
The underlying cause of every defect below is the same: plastic shrinks as it cools, and anything that makes that shrinkage uneven — a thick section, a cold mold zone, trapped gas, or a distant gate — shows up as a visible fault. Reading the defect is therefore a matter of asking where the shrinkage or flow went wrong.
1. Sink marks
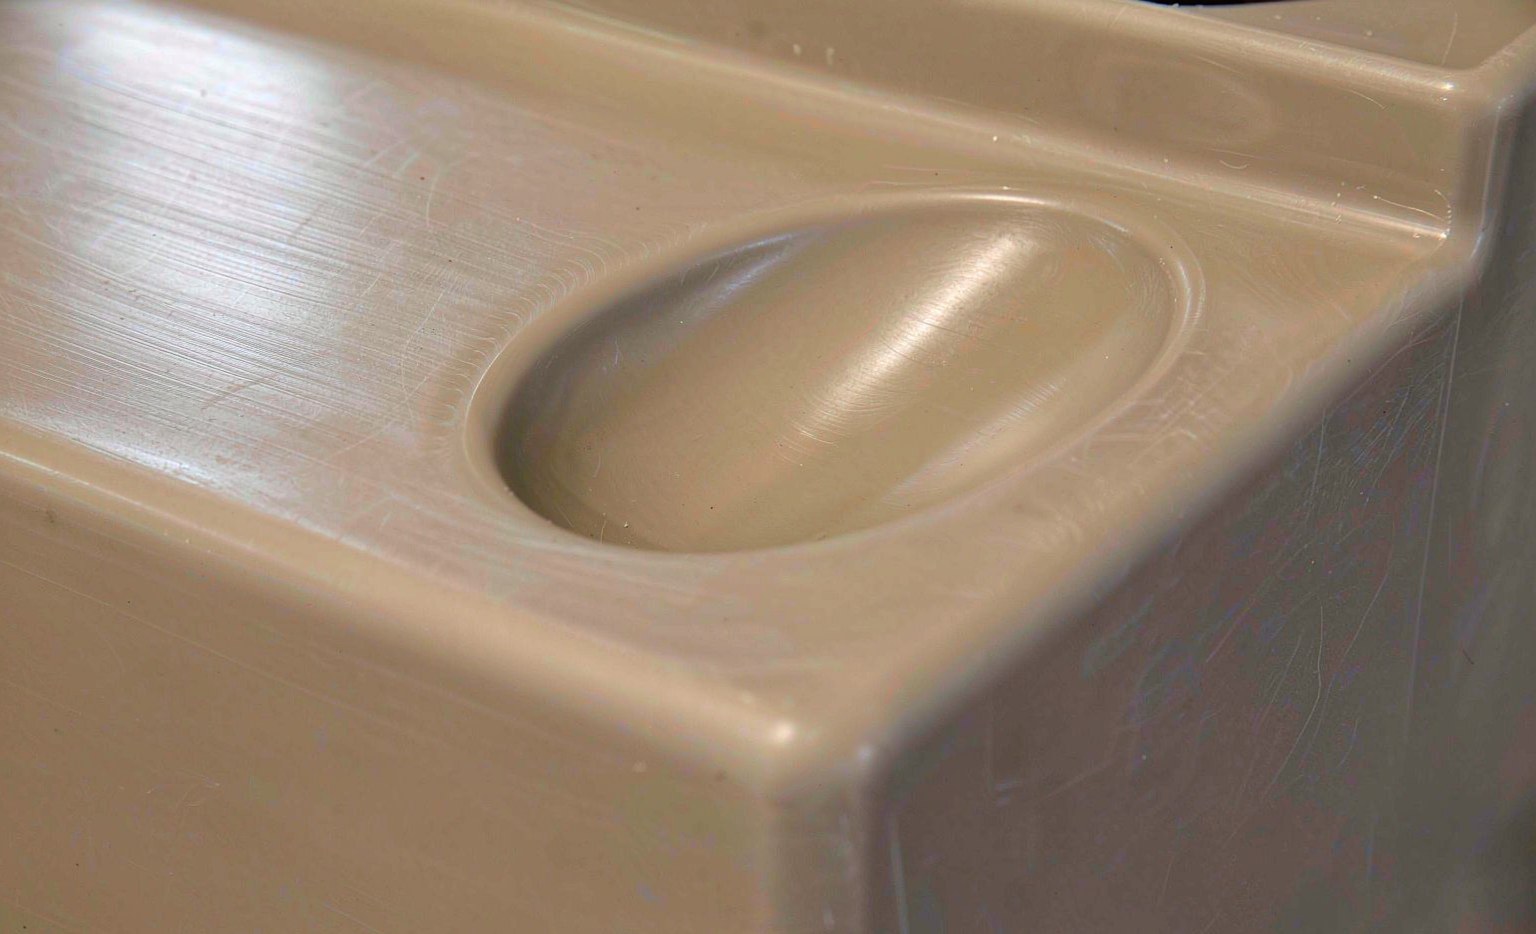
Localized depressions, usually opposite thick ribs or bosses, are caused by excessive local shrinkage as the core of the part cools and pulls the solidified skin inward. They appear most on thick sections, bosses, gear hubs and the area opposite a gate.
The standard fixes: raise holding pressure and hold time so the cavity stays packed while the gate freezes; add fillets or thin the offending rib so the section shrinks less; lower melt temperature slightly; and improve gate size and location so packing pressure actually reaches the thick area. Push too far and you trade a sink for flash, so the balance between pack pressure and clamp force is the real skill.
2. Warpage
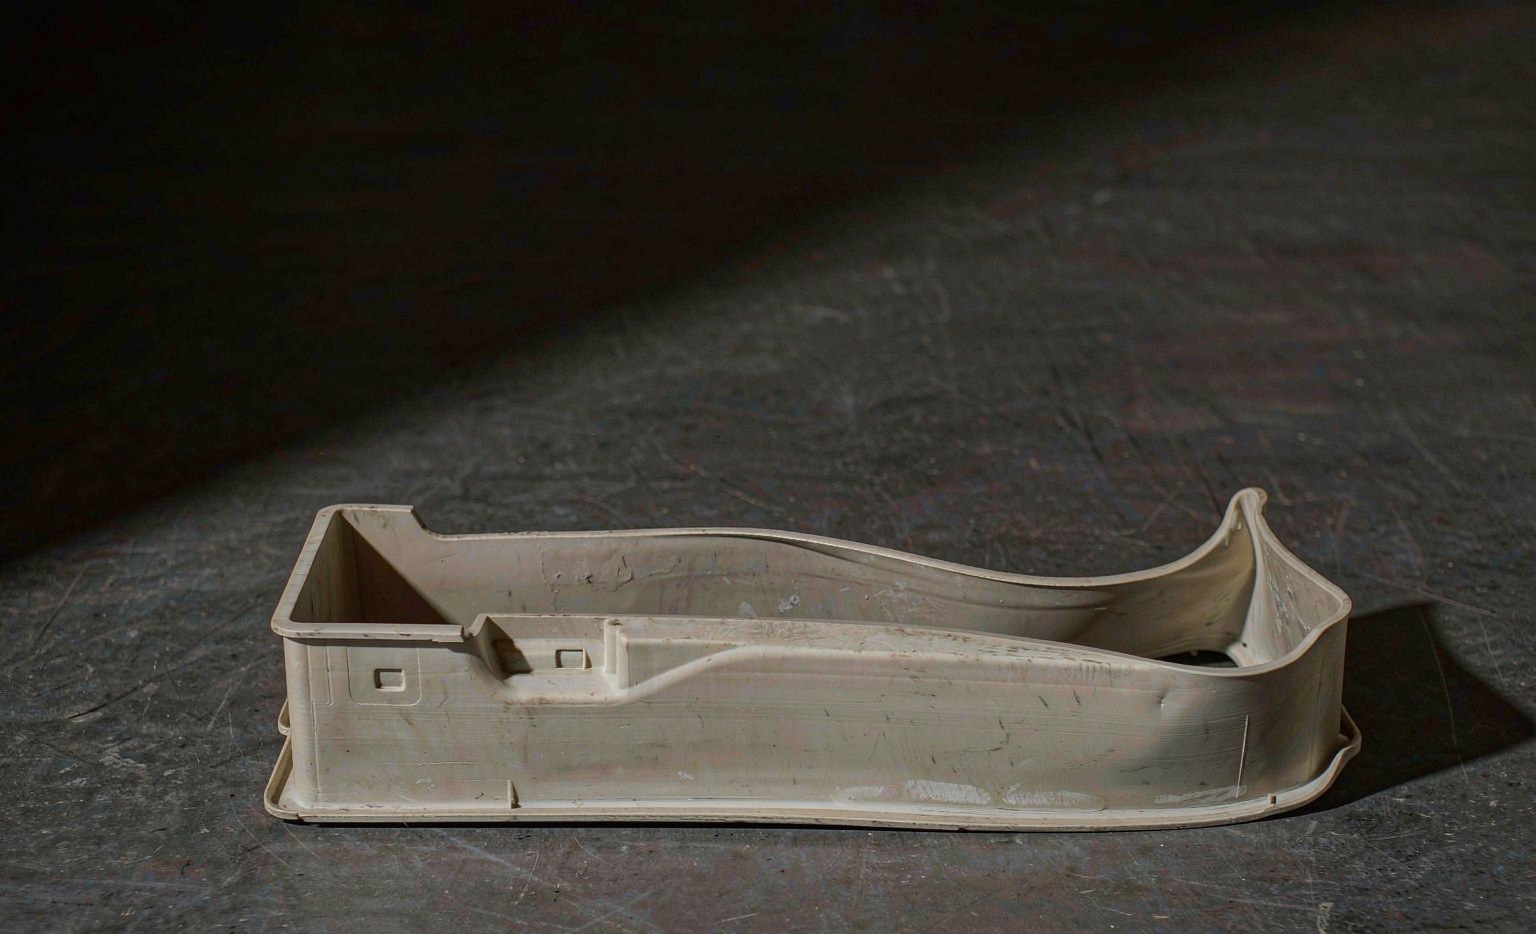
Distortion comes from non-uniform shrinkage — differential orientation and cooling across the part. A flat panel warps because one side cools faster than the other and freezes a different level of internal stress; the part then relaxes out of shape as it ages.
Fixes: keep wall thickness uniform (the single biggest lever), balance mold-temperature zones so both faces cool alike, lengthen cooling time, and design symmetrical geometry. Warpage is largely designed out at CAD; once the tool exists you are managing it, not eliminating it, and a symmetric gate layout is worth more than any process tweak.
3. Flash
A thin fin of material at the parting line comes from insufficient clamp force or a worn, dirty or dented parting line that lets melt escape. It is often the first sign of tool wear rather than a process problem.
Fixes: increase clamp tonnage, service and clean the parting line, lower injection pressure, and check for degraded resin that flows too easily. Flash is usually a maintenance signal — a parting line that needs attention — more than a setting, so check the tool before chasing process numbers.
4. Short shot
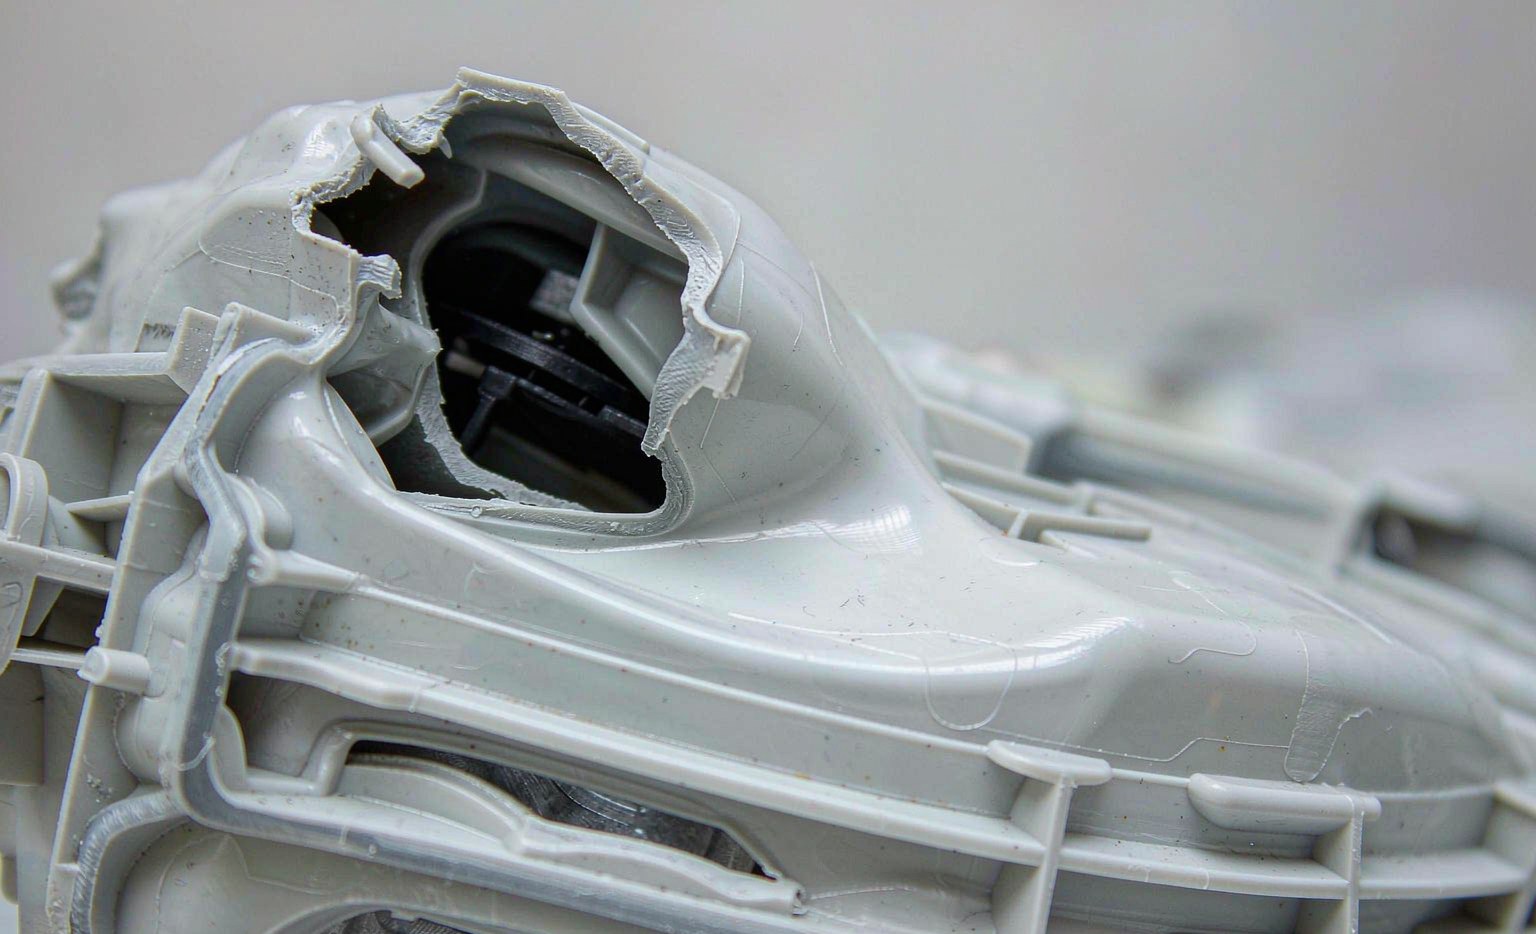
An incomplete fill means the cavity never fully packed. Fixes: raise melt and mold temperature, increase injection speed and pressure, enlarge the gate or runner, and add vents — trapped air compresses and physically blocks the advancing melt front.
A short shot at the far end of a long thin wall usually means the wall is simply too thin for the resin’s flow length; no amount of pressure fixes a bad flow-length-to- thickness ratio, and the real fix is a design change or a hotter, faster-filling grade.
5. Weld (knit) lines
A visible line where two flow fronts meet — around holes, inserts or multiple gates — is a knit line, and mechanically a weak seam. Fixes: raise melt temperature and injection speed so the fronts fuse, relocate the gate so flows meet in a non-critical area, add venting at the meeting point, and use weld-line breakers so the junction fuses instead of staying weak.
On appearance parts, a hot runner plus higher melt temperature usually hides it; on structural parts, move the weld line out of the load path entirely rather than trying to strengthen it after the fact.
6. Burn marks
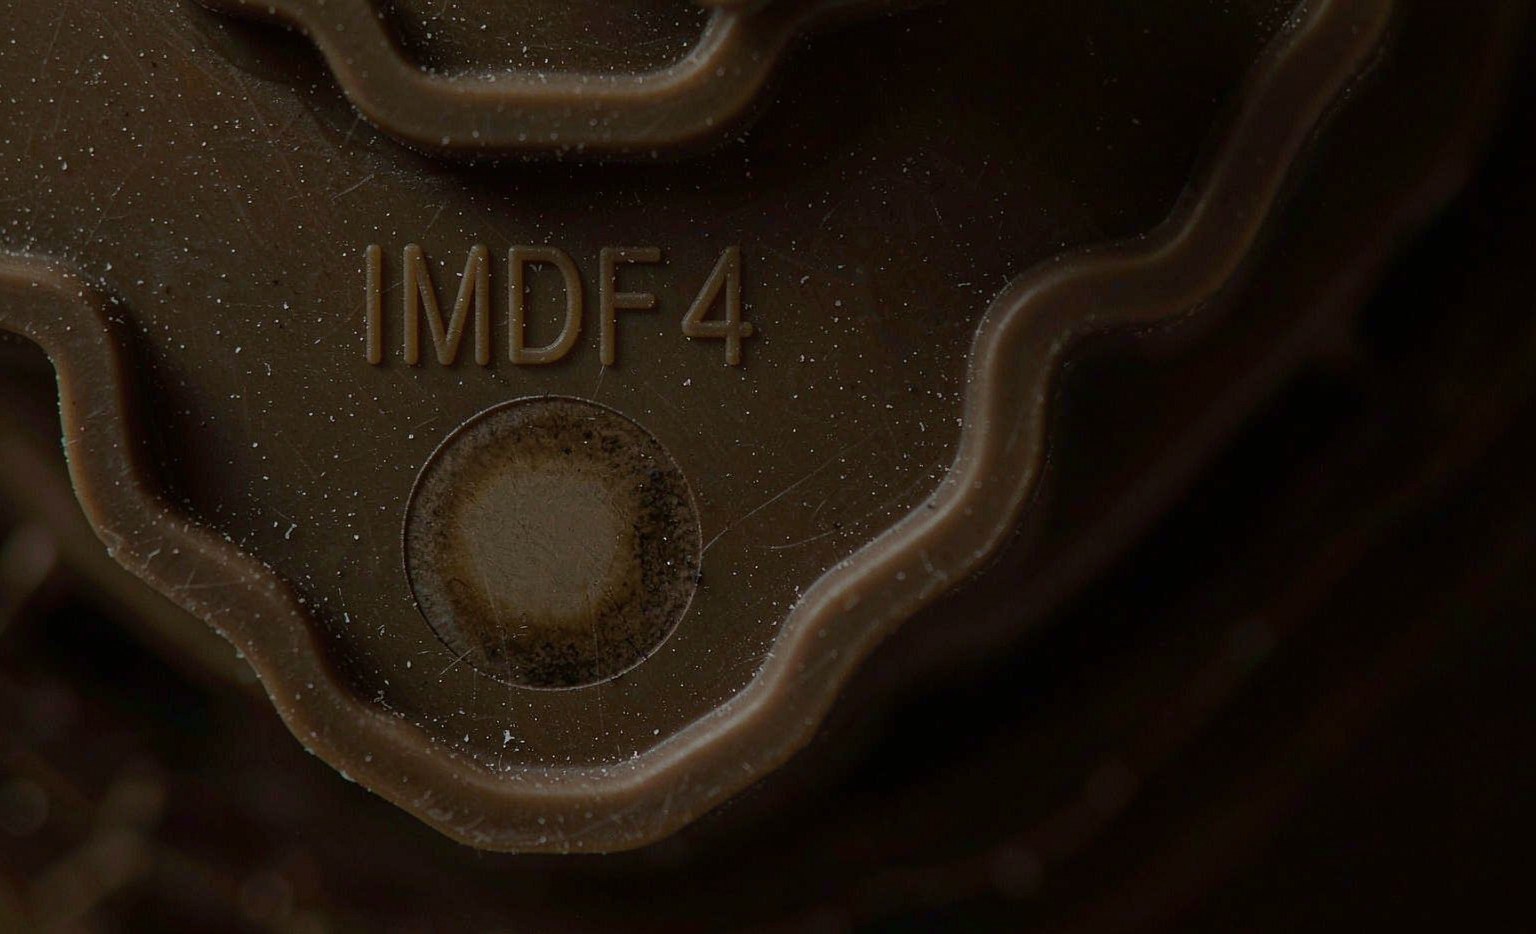
Brown or black scorching is compressed, trapped gas igniting as the cavity fills. Fixes: add or clear vents, reduce melt temperature, slow the injection rate so air escapes ahead of the front, and reduce decompression so the screw does not draw air. Burn marks cluster at the last place to fill — exactly where venting is missing.
Defect to root cause at a glance
| Defect | Primary cause | First fix to try |
|---|---|---|
| Sink mark | Local over-shrinkage | More hold pressure/time |
| Warpage | Uneven cooling/flow | Uniform wall, balance mold temp |
| Flash | Low clamp or worn parting line | Raise clamp, service tool |
| Short shot | Trapped air or low fill pressure | Vent, raise speed/pressure |
| Weld line | Cold flow fronts meet | Raise melt temp, move gate |
| Burn mark | Compressed gas ignition | Vent, slow injection |
Diagnose systematically, then prevent
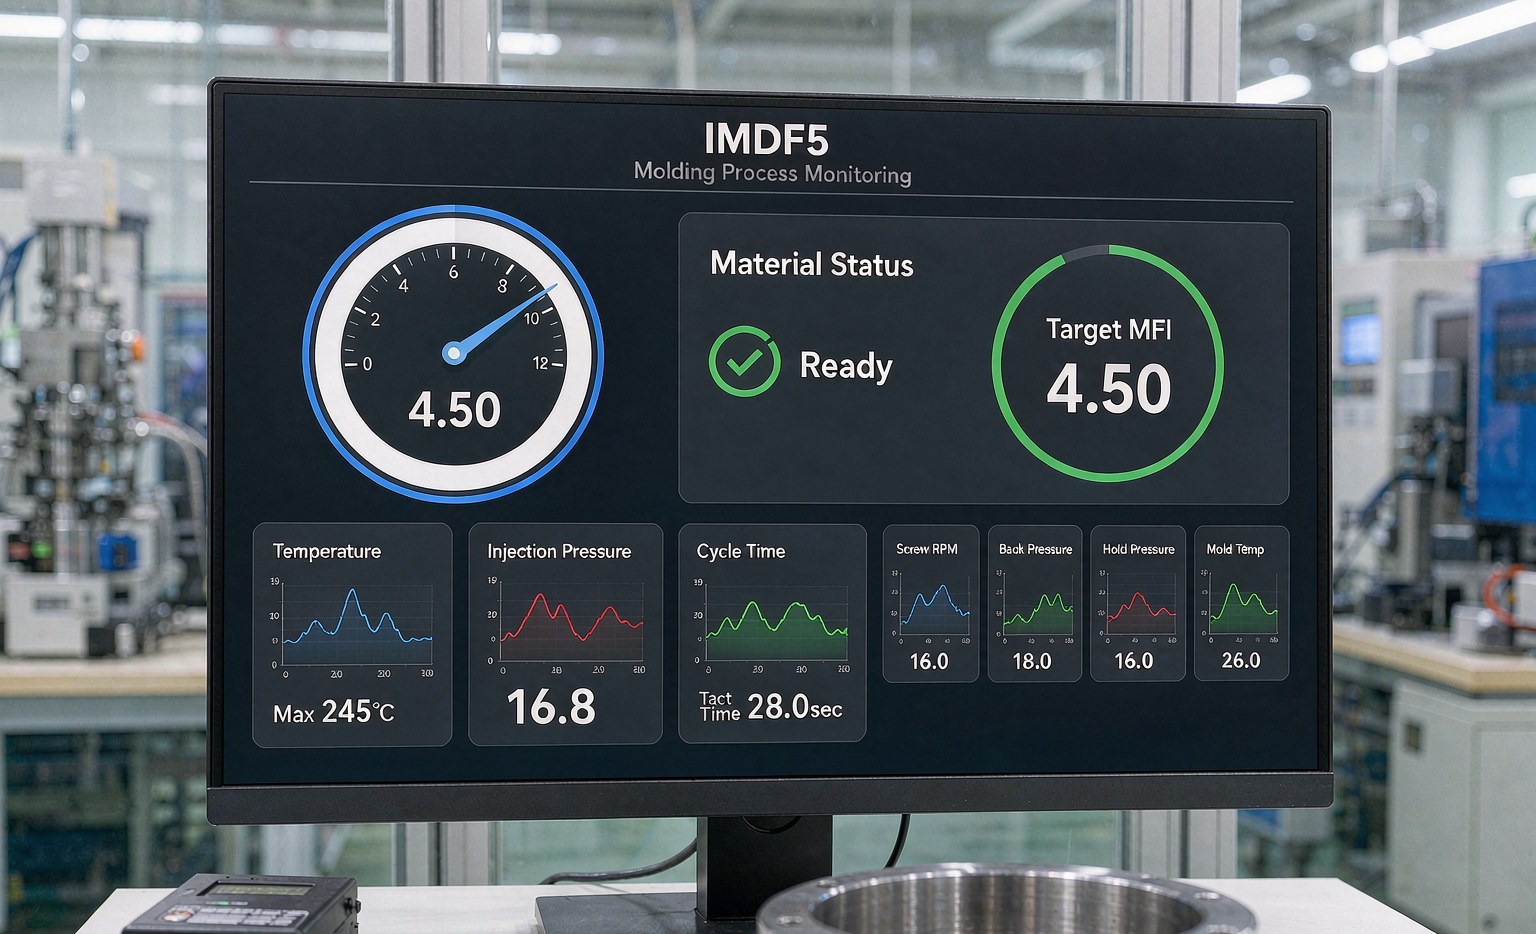
Chase defects one variable at a time: confirm the tool is clean and the resin is dry, verify shot size and cushion, then change a single setting and re-check. Changing three things at once tells you nothing about which one mattered.
Modern cells log cavity pressure and automatically reject parts outside the window, so a drift toward sink or flash is caught at part one rather than at final audit. The cheapest defect is the one that never ships, and a monitored, documented process is what keeps all six of these problems off the floor.
FAQ
Can one fix cause another defect? Yes — extra packing pressure that cures a sink often creates flash. Always re-check the whole part after any change.
Why do defects appear on only some cavities? Uneven cooling or gate balancing between cavities is the usual cause; check mold-temperature control per zone.
How do I stop defects recurring? Record the validated process window at first-article inspection and monitor cavity pressure against it on every run.
Is a defect ever the resin’s fault? Sometimes — undried or degraded resin causes splay and burn. Verify drying before blaming the process.
What is the fastest diagnostic? Reduce it to process, material or tool, then test one change at a time against a documented baseline.
Do defects mean the mold is bad? Not necessarily — flash and wear yes, but sink, warp and weld lines are often process or design issues.