




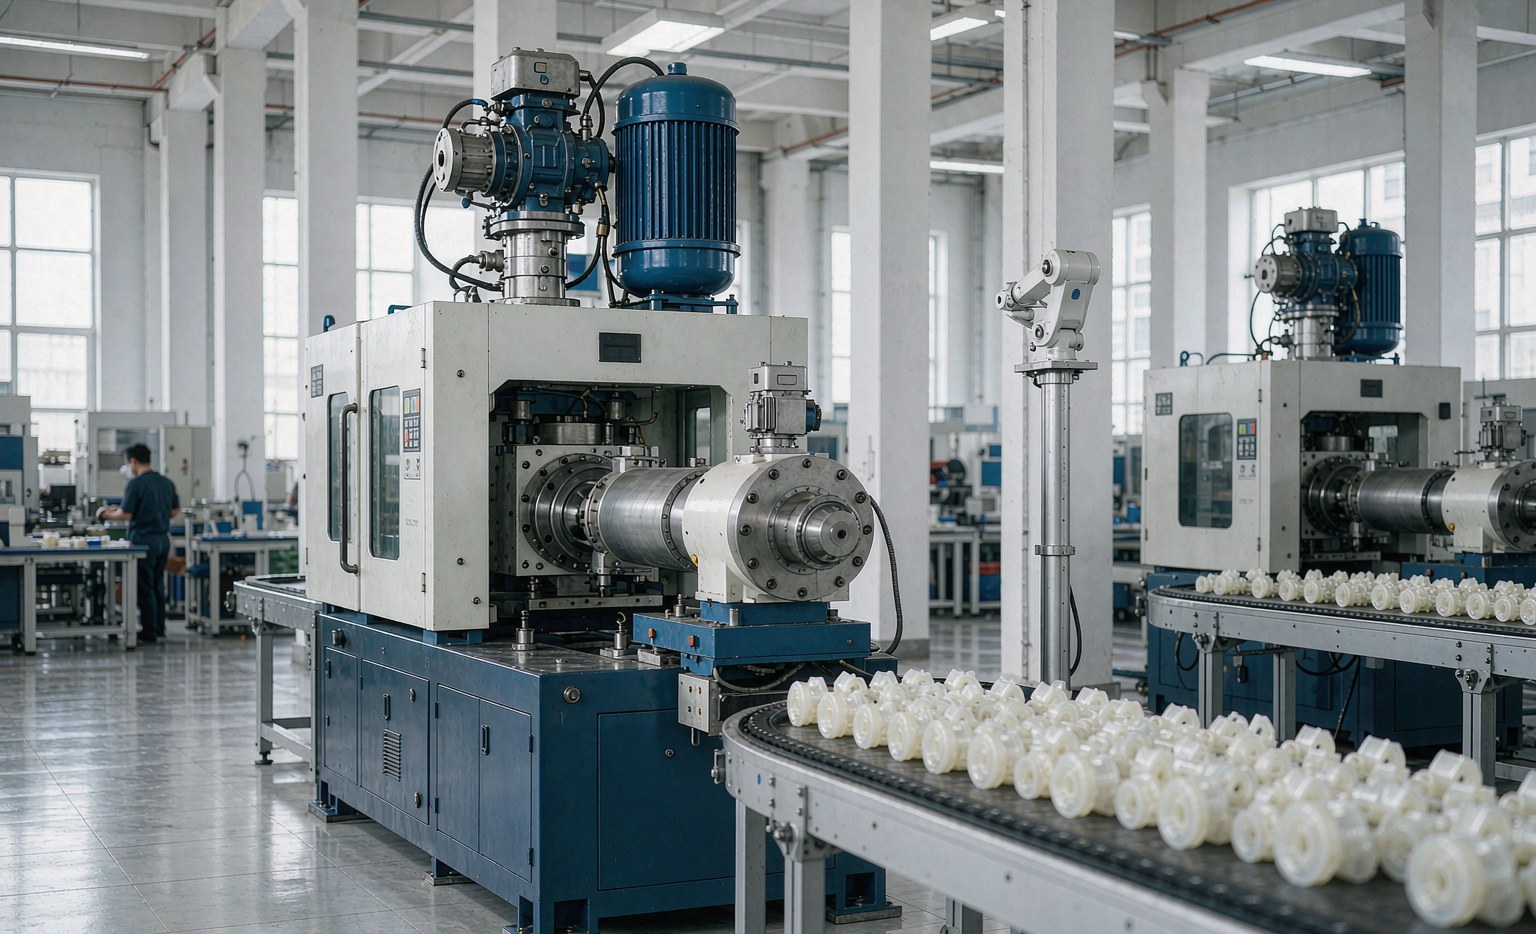
射出成型不良幾乎都可追溯至三個變數:材料收縮、製程設定,或模具幾何結構。現場的射出模師傅學會閱讀每個症狀、隔離負責的變數,並在偏移演變成整批廢品前套用相對應的修正方案。本實務指南涵蓋了六種最常見的不良現象、其根本原因、在量產中真正有效的修正措施,以及如何建立製程以防止這些問題再現。.
以下所有不良的背後成因都是相同的:塑膠在冷卻時會收縮,而任何導致該收縮不均的因素——厚實截面、冷卻死角、氣泡殘留,或遠離的澆口——都會表現為可見的缺陷。因此,讀取不良資訊的本質在於詢問收縮或流動在哪裡出了問題。.
縮孔
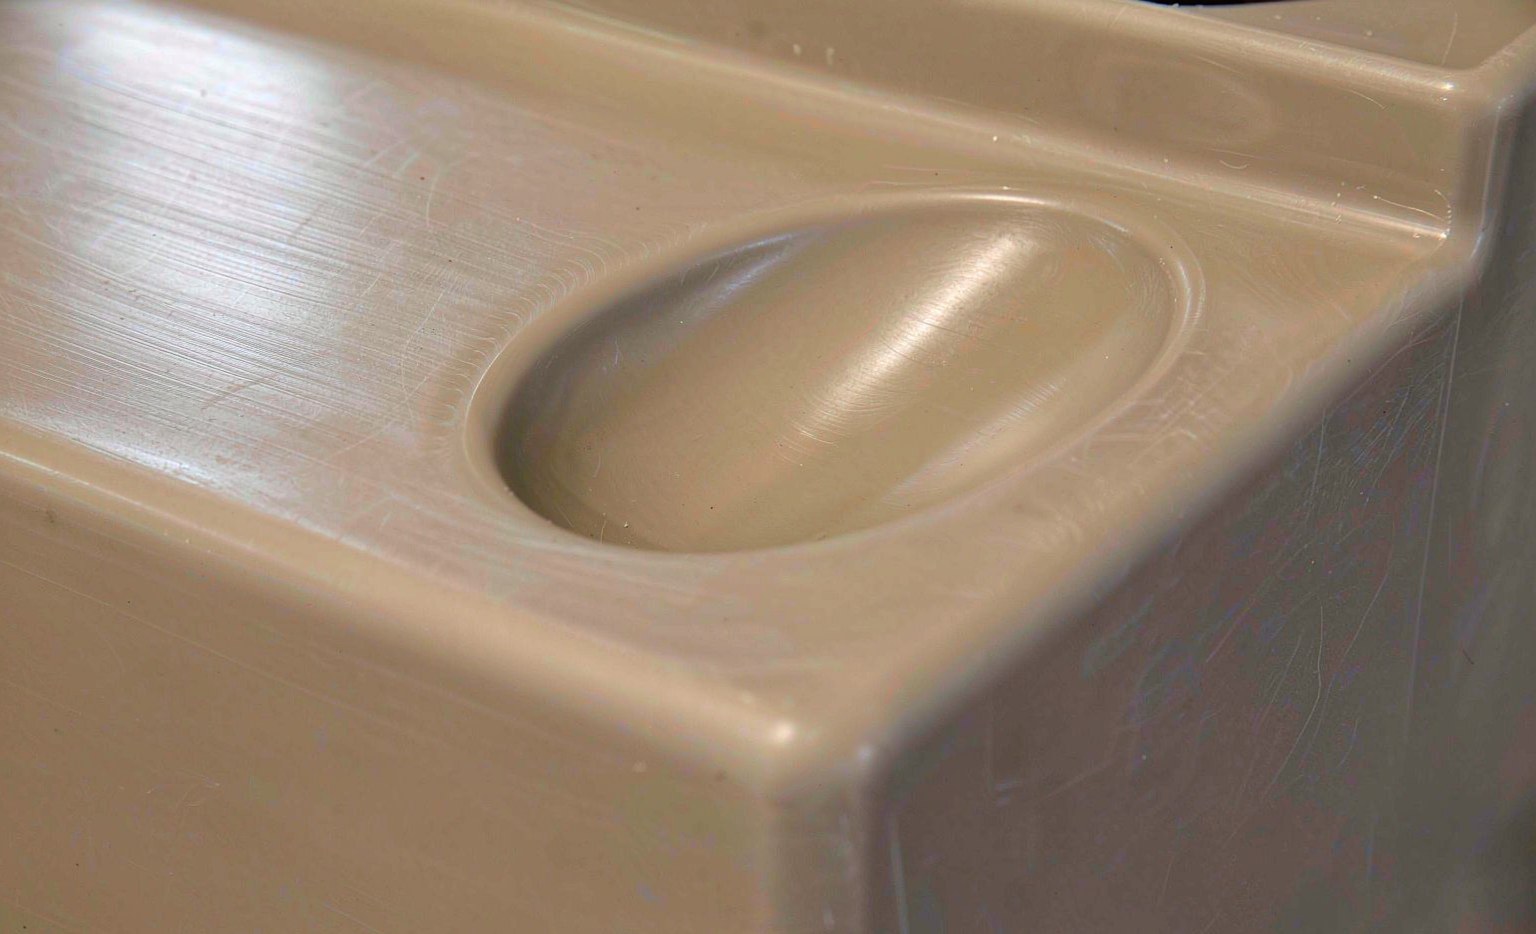
局部凹陷,通常位於厚肋或凸台的另一側,是由 過度的局部收縮 零件核心冷卻並拉拽已固化皮層向內所致。它們最常出現在厚實截面、凸台、齒輪軸樞以及澆口的相對側區域。.
標準修正方案:提高保壓壓力與保壓時間,使澆口凍結前型腔保持充填狀態;增加圓角或減薄問題肋條,使該截面收縮減少;略微降低熔體溫度;並改善澆口尺寸與位置,使保壓真正抵達厚實區域。過度施壓會將凹陷換成溢料,因此充填壓力與夾緊力之間的平衡才是真正的技巧所在。.
變形
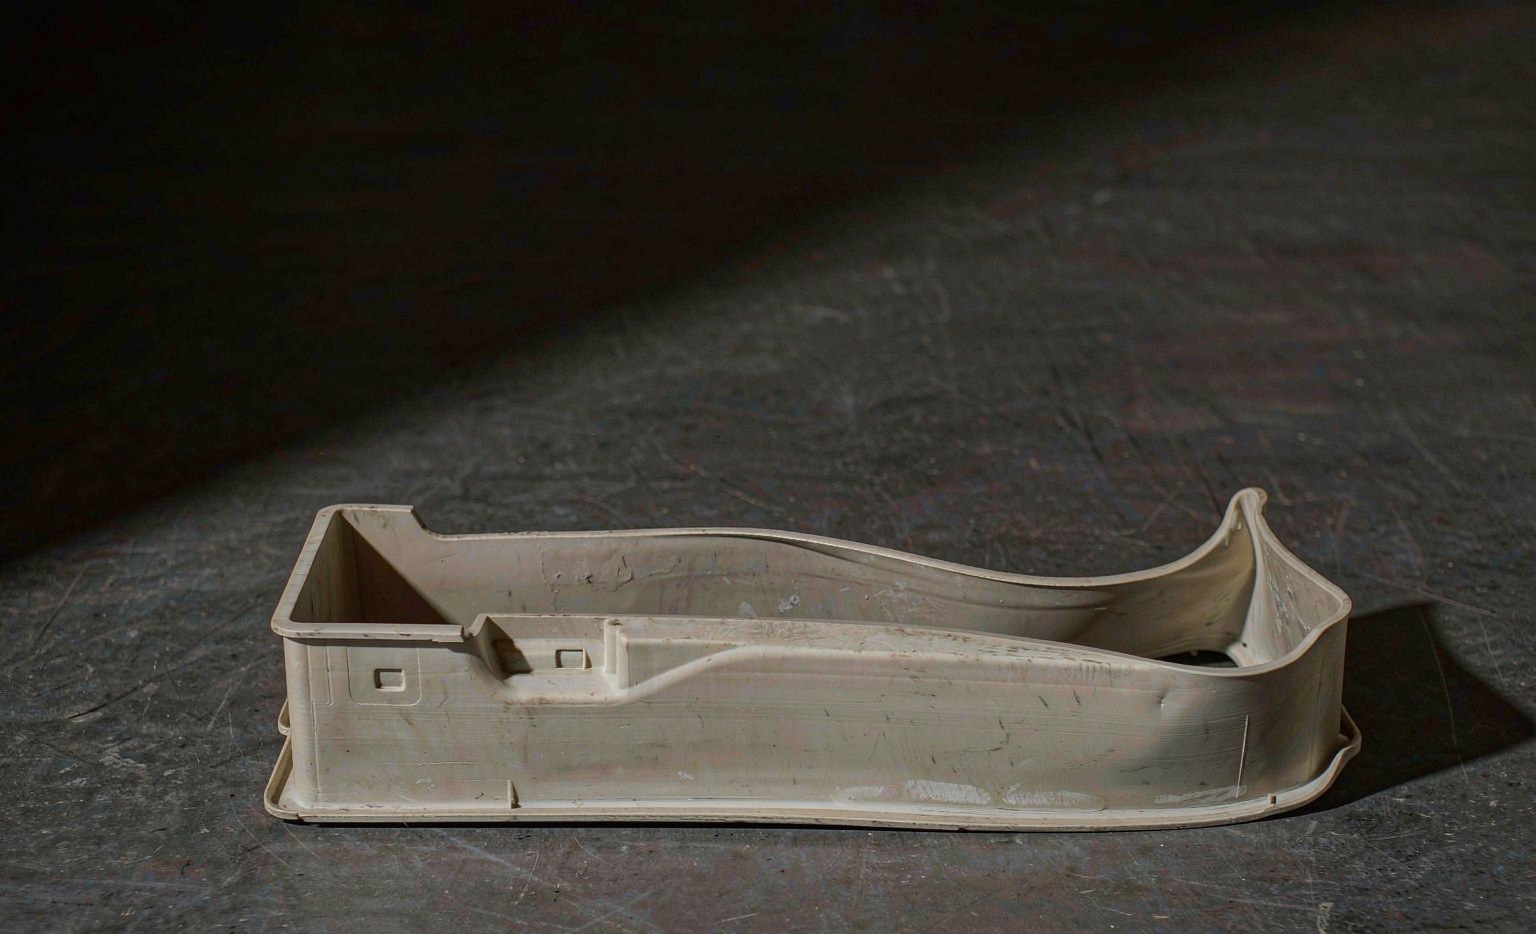
變形源自於 不均勻收縮 零件上的差異化定向與冷卻。平面板件產生翹曲,是因為一面比另一面冷卻得快,因而凍結了不同層次的內部應力;零件隨後隨時間老化而恢復原狀並產生變形。.
修正方案:保持壁厚均勻(這是最關鍵的控制變數),平衡模具溫度分區使兩面冷卻速率相同,延長冷卻時間,並設計對稱幾何結構。翹曲在很大程度上需在 CAD 階段予以消除;一旦模具製成,你只能在進行管理而非消除,對稱的澆口佈局比任何製程調整都更有價值。.
飛邊
分型線處的薄金屬翅片源自於 夾持力不足 磨損、髒污或凹陷的分型線,使熔體得以逃逸。這往往是模具磨損的首個徵兆,而非製程問題。.
修正方案:增加夾緊噸位,維修並清潔分型線,降低注射壓力,並檢查樹脂是否劣化導致流動過於容易。溢料通常是一個維護訊號——即需要關注的分型線——而非僅是參數設定問題,因此在追查製程數值之前,應先檢查模具。.
短射
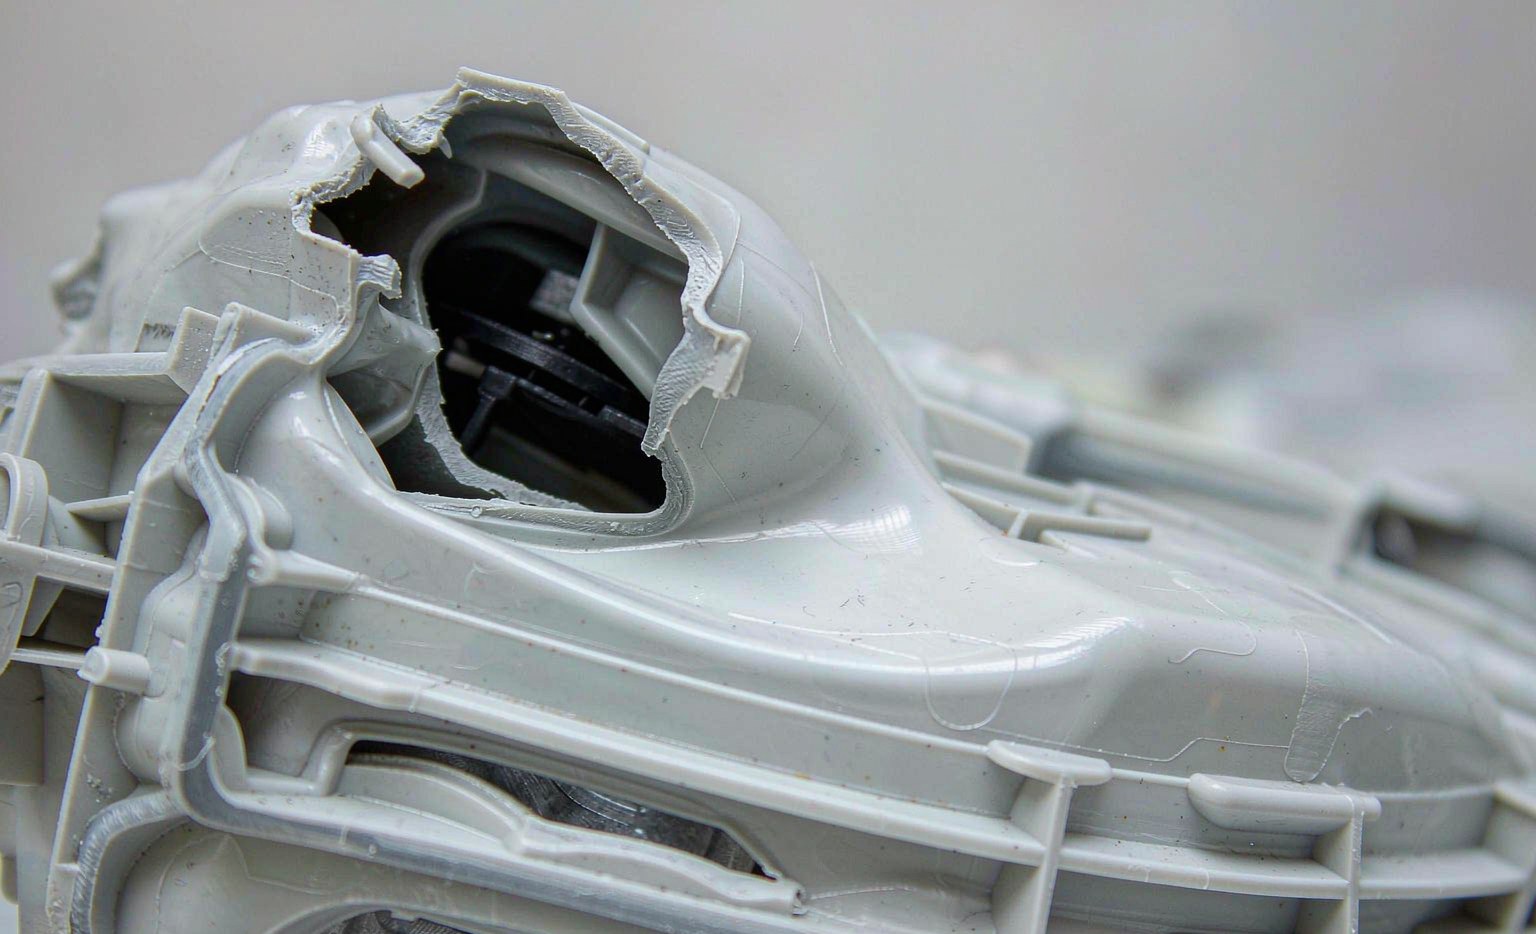
充填不足意味著型腔從未完全充填。修正方案:提高熔體與模具溫度,增加注射速度與壓力,擴大澆口或流道,並增加通氣孔——被困住的空氣會壓縮並物理阻擋前進的熔體前沿。.
長薄壁零件遠端的充填短射通常意味著該壁厚對於樹脂的流動長度而言單純過薄;無論施加多大壓力都無法修正不良的流動長度與壁厚比,真正的解決方案是設計修改或採用流動性更佳、充填速度更快的材料級別。.
熔接痕
A visible line where two flow fronts meet — around holes, inserts or multiple gates — is a knit line, and mechanically a weak seam. Fixes: raise melt temperature and injection speed so the fronts fuse, relocate the gate so flows meet in a non-critical area, add venting at the meeting point, and use weld-line breakers so the junction fuses instead of staying weak.
On appearance parts, a hot runner plus higher melt temperature usually hides it; on structural parts, move the weld line out of the load path entirely rather than trying to strengthen it after the fact.
燒跡
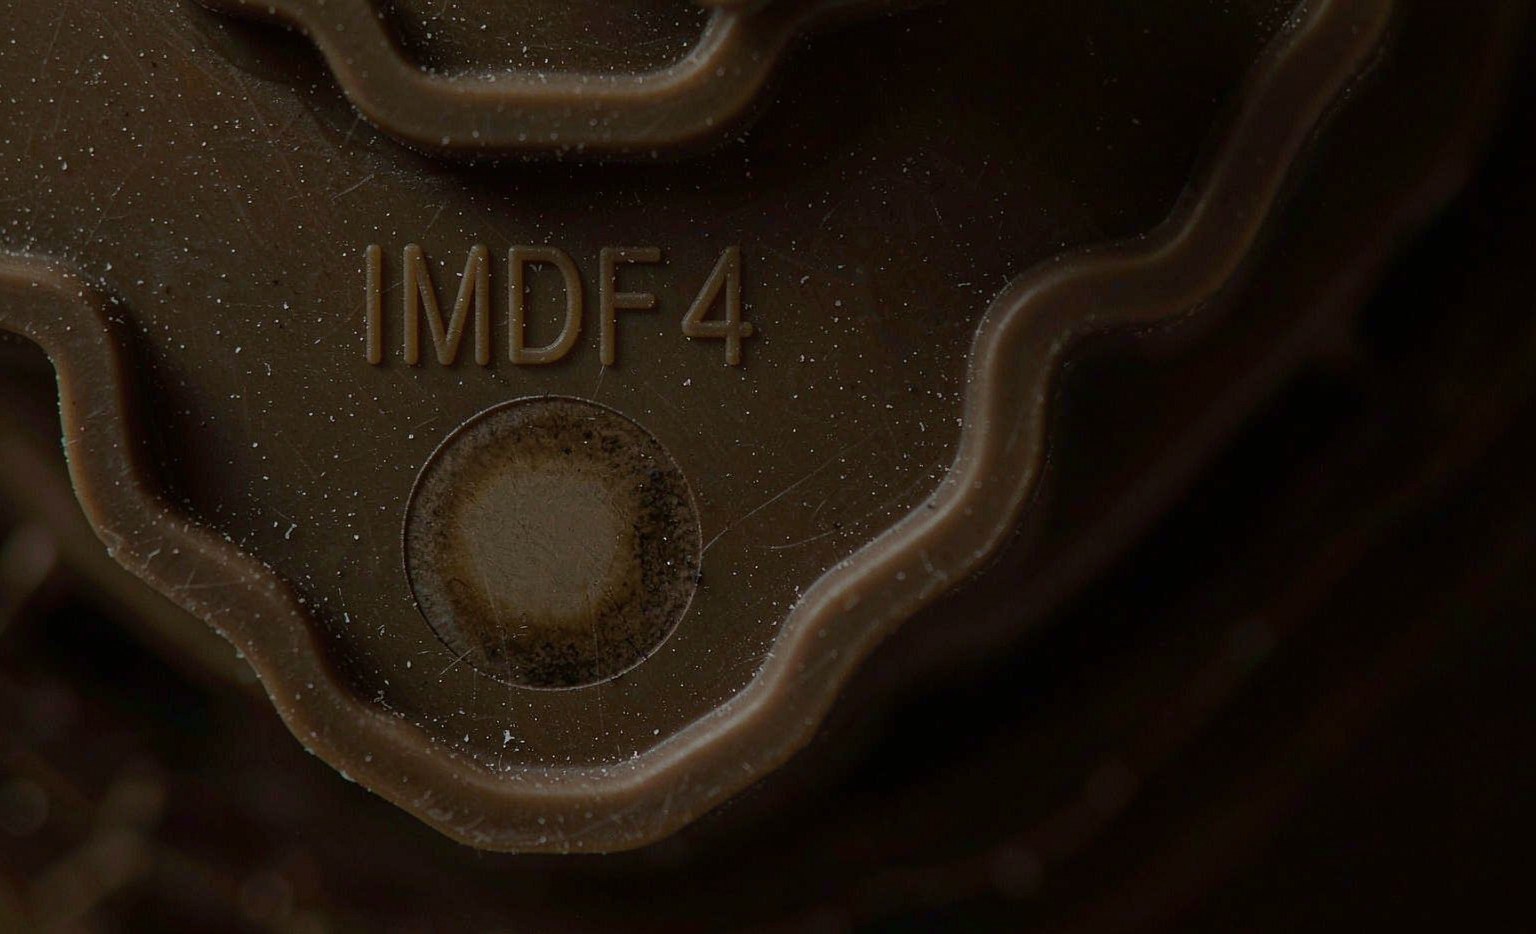
Brown or black scorching is 被壓縮的被困氣體 igniting as the cavity fills. Fixes: add or clear vents, reduce melt temperature, slow the injection rate so air escapes ahead of the front, and reduce decompression so the screw does not draw air. Burn marks cluster at the last place to fill — exactly where venting is missing.
Defect to root cause at a glance
| Defect | Primary cause | First fix to try |
|---|---|---|
| Sink mark | Local over-shrinkage | More hold pressure/time |
| Warpage | Uneven cooling/flow | Uniform wall, balance mold temp |
| Flash | Low clamp or worn parting line | Raise clamp, service tool |
| Short shot | Trapped air or low fill pressure | Vent, raise speed/pressure |
| Weld line | Cold flow fronts meet | Raise melt temp, move gate |
| Burn mark | Compressed gas ignition | Vent, slow injection |
Diagnose systematically, then prevent
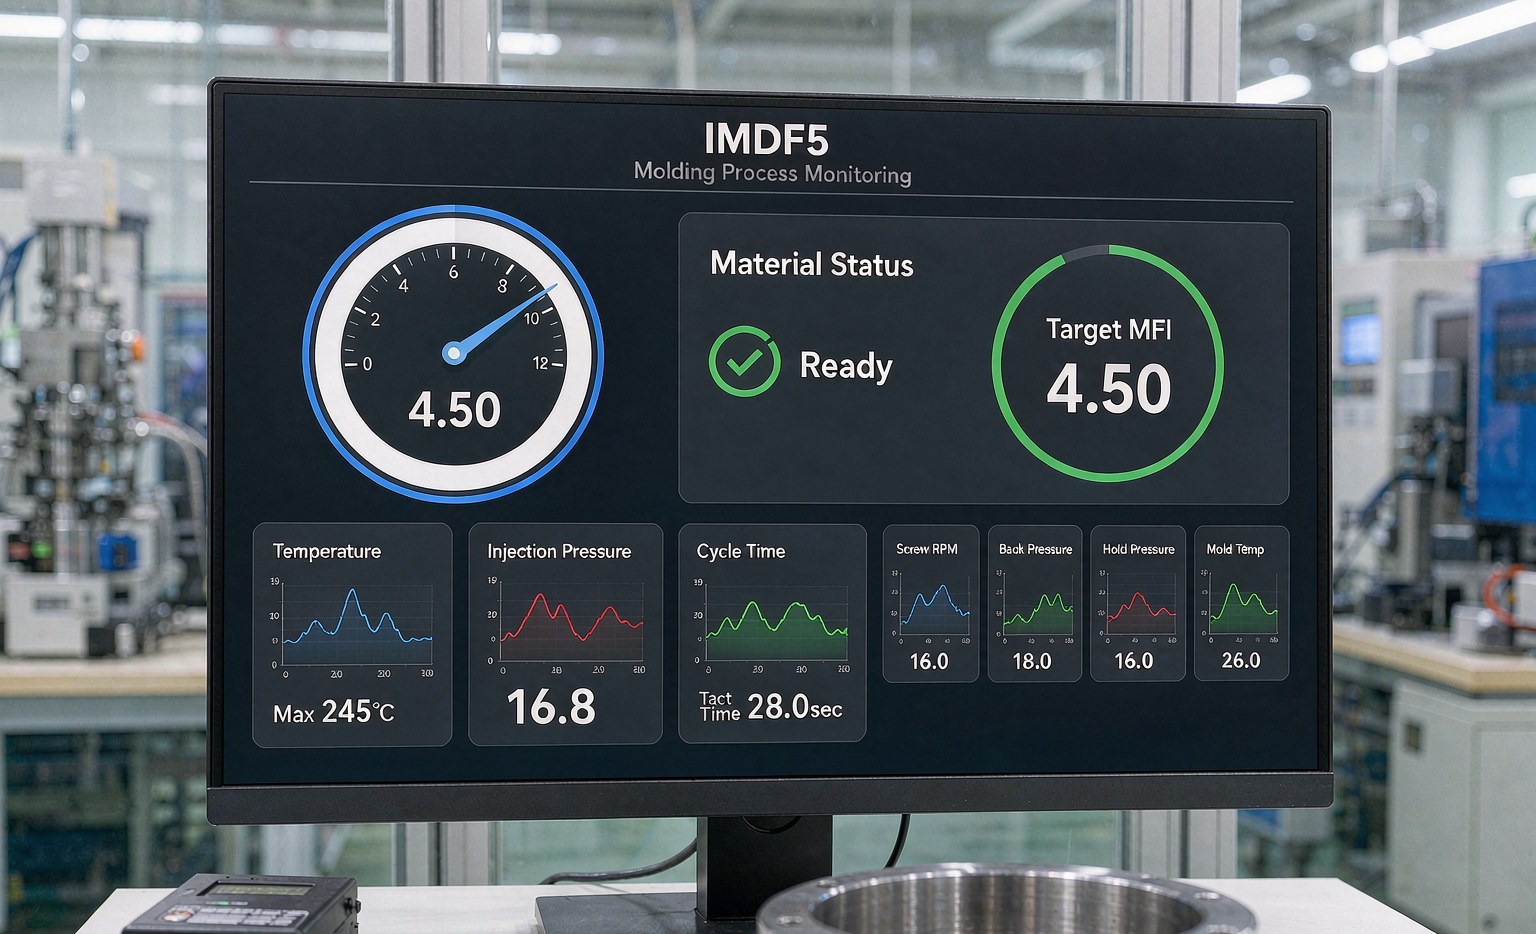
Chase defects one variable at a time: confirm the tool is clean and the resin is dry, verify shot size and cushion, then change a single setting and re-check. Changing three things at once tells you nothing about which one mattered.
Modern cells log cavity pressure and automatically reject parts outside the window, so a drift toward sink or flash is caught at part one rather than at final audit. The cheapest defect is the one that never ships, and a monitored, documented process is what keeps all six of these problems off the floor.
常見問題
Can one fix cause another defect? Yes — extra packing pressure that cures a sink often creates flash. Always re-check the whole part after any change.
Why do defects appear on only some cavities? Uneven cooling or gate balancing between cavities is the usual cause; check mold-temperature control per zone.
How do I stop defects recurring? Record the validated process window at first-article inspection and monitor cavity pressure against it on every run.
Is a defect ever the resin’s fault? Sometimes — undried or degraded resin causes splay and burn. Verify drying before blaming the process.
What is the fastest diagnostic? Reduce it to process, material or tool, then test one change at a time against a documented baseline.
Do defects mean the mold is bad? Not necessarily — flash and wear yes, but sink, warp and weld lines are often process or design issues.