



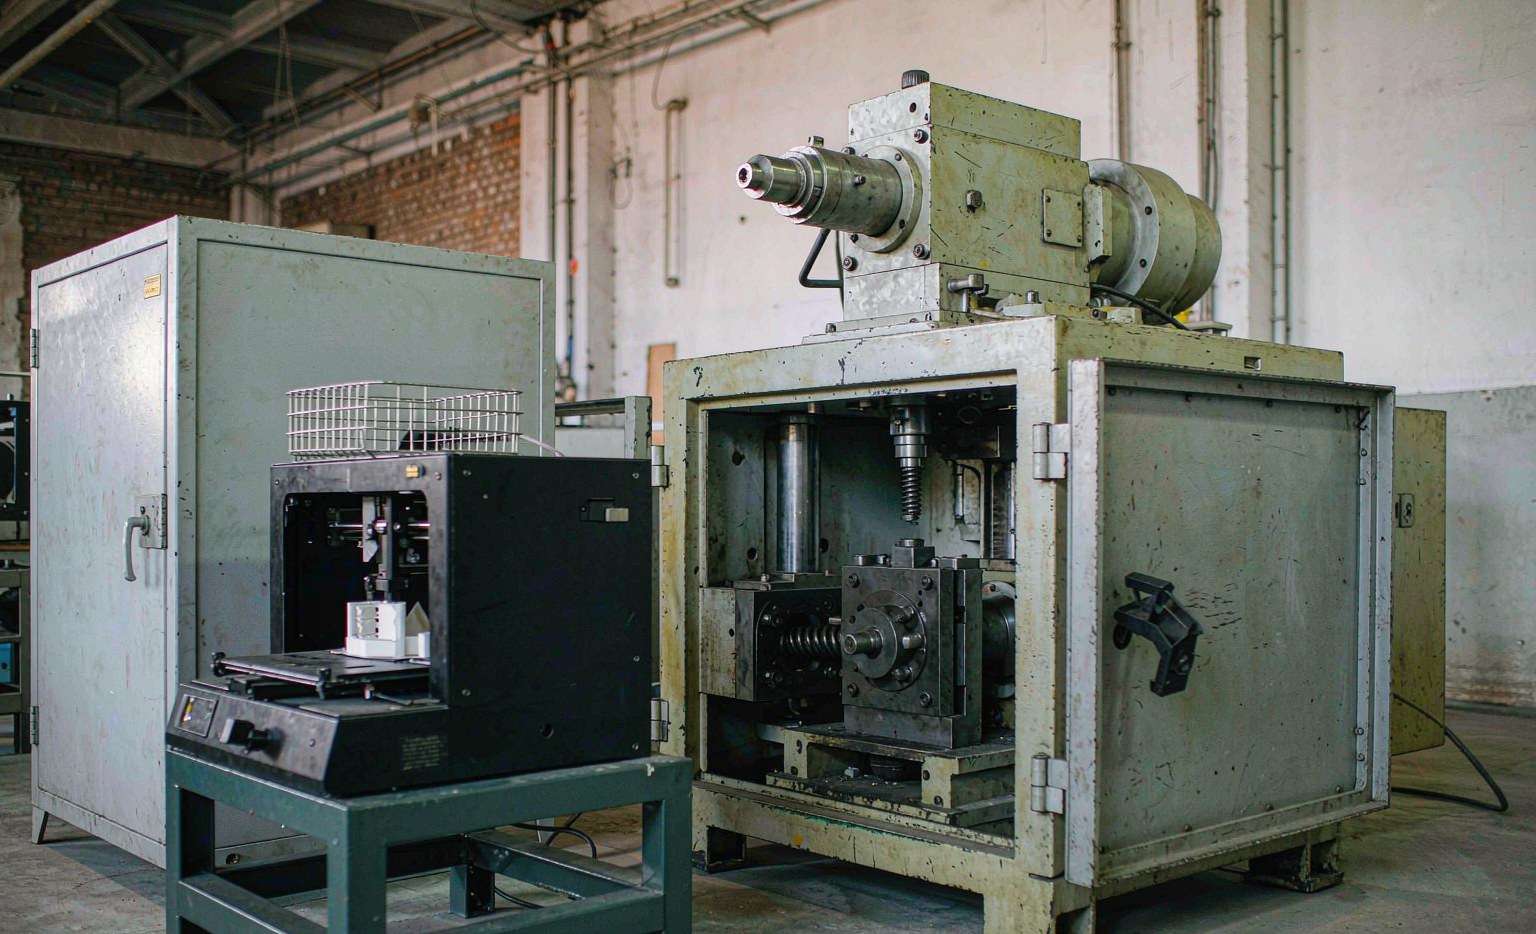
Engineers choosing between injection molding and 3D printing usually frame it as “prototype vs production.” The honest answer is about volume, custo por unidade e prazo de entrega: below a few hundred parts, printing wins; above a few thousand, molding wins decisively. This article puts real numbers on the crossover so the decision is a calculation, not a habit.
The whole comparison reduces to one structural fact: molding pays a big tooling cost once, printing pays a small cost every time. Those two cost curves cross at a volume that depends mostly on part size and complexity.
O ponto de compensação de custo
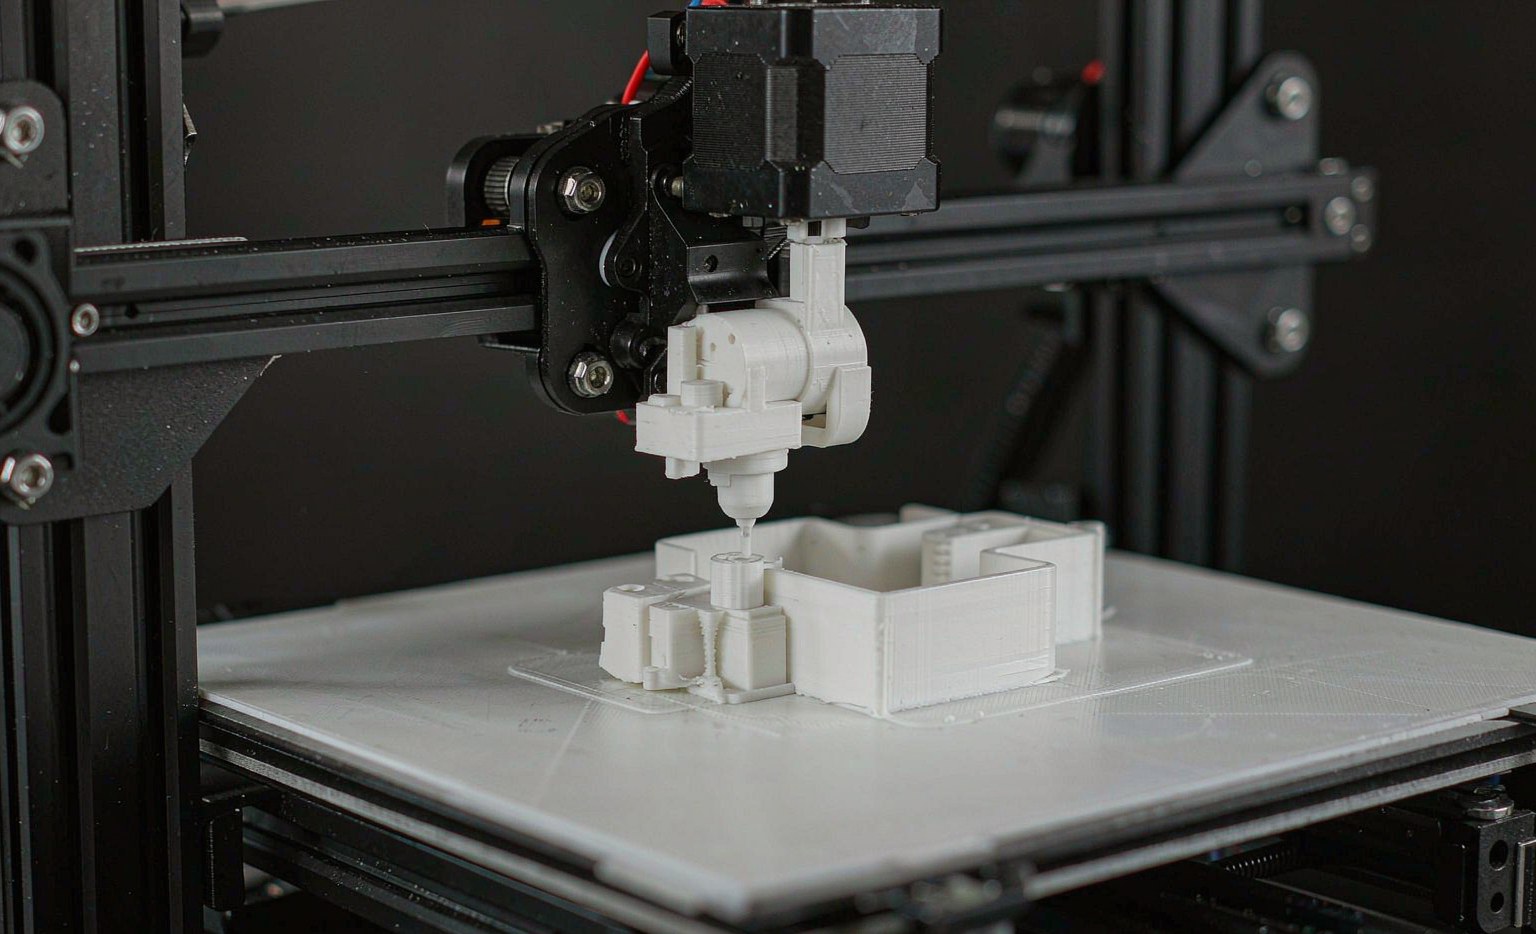
O fato econômico definidor é que a moldagem envolve um grande custo fixo de cost up front, while printing carries almost none. That makes per-part cost fall steeply with volume for molding and stay roughly flat for printing.
| Fator | Moldagem por injeção | Impressão 3D |
|---|---|---|
| Custo do ferramental | $1,000 – $100,000+ (de alumínio a aço) | Nenhuma |
| Prazo de entrega do ferramental | 2 a 8 semanas (tipicamente 4 a 6) | Nenhuma |
| Prazo de entrega da peça | Segundos por ciclo, após o ferramental | Horas a dias por peça |
| Custo por unidade em baixo volume | Alto (ferramental amortizado em poucas peças) | Baixo |
| Custo por unidade em alto volume | Muito baixo | Alto (sem economia de escala) |
Onde o ponto de compensação está
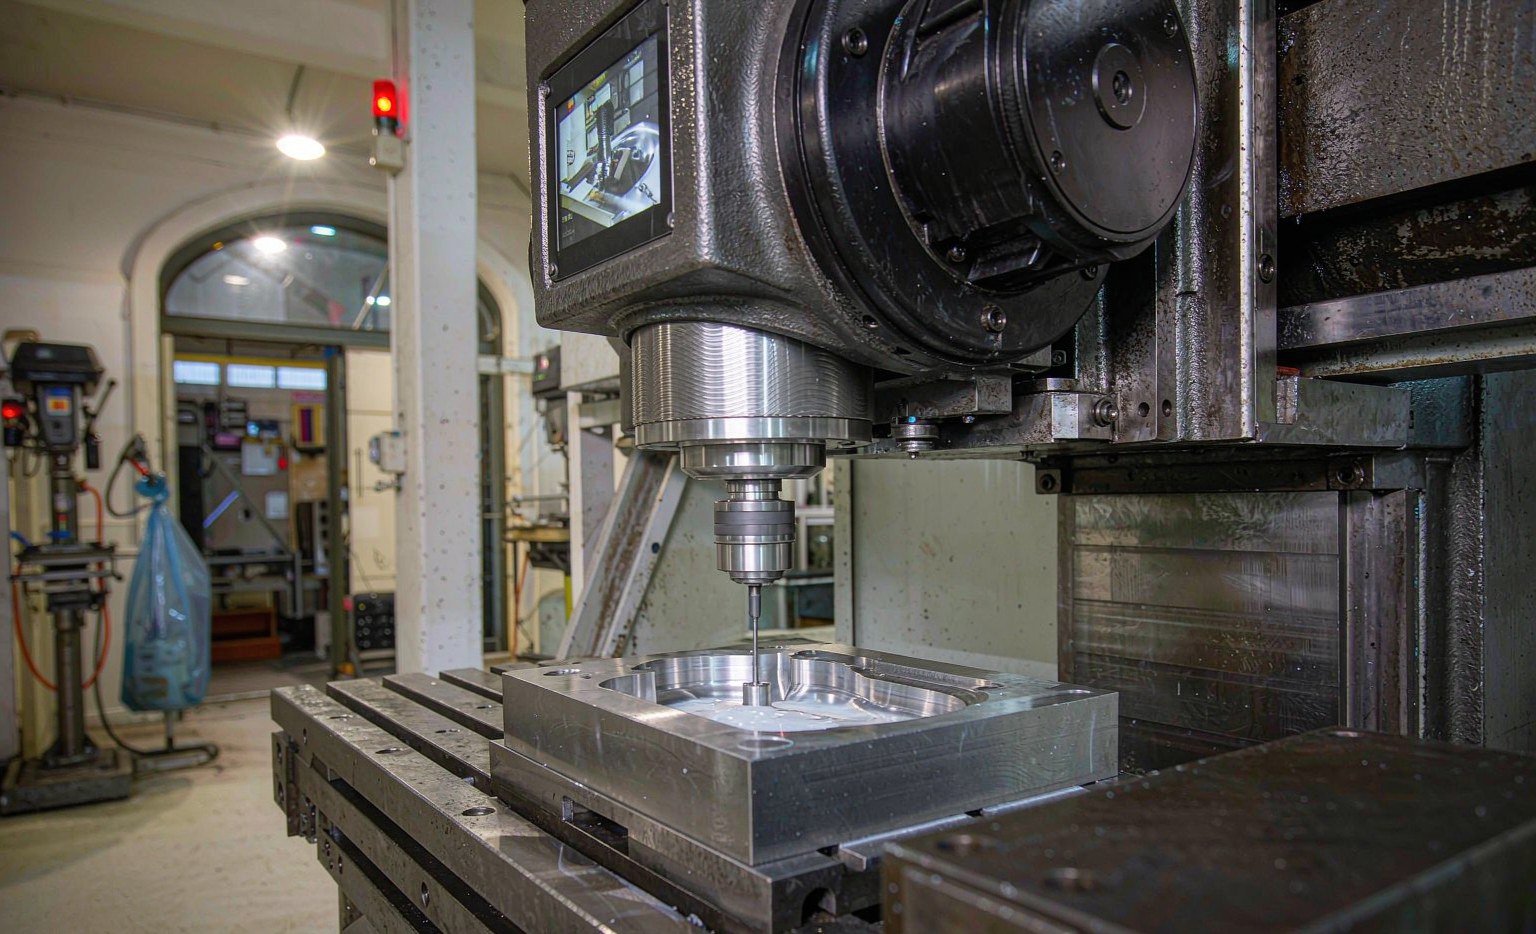
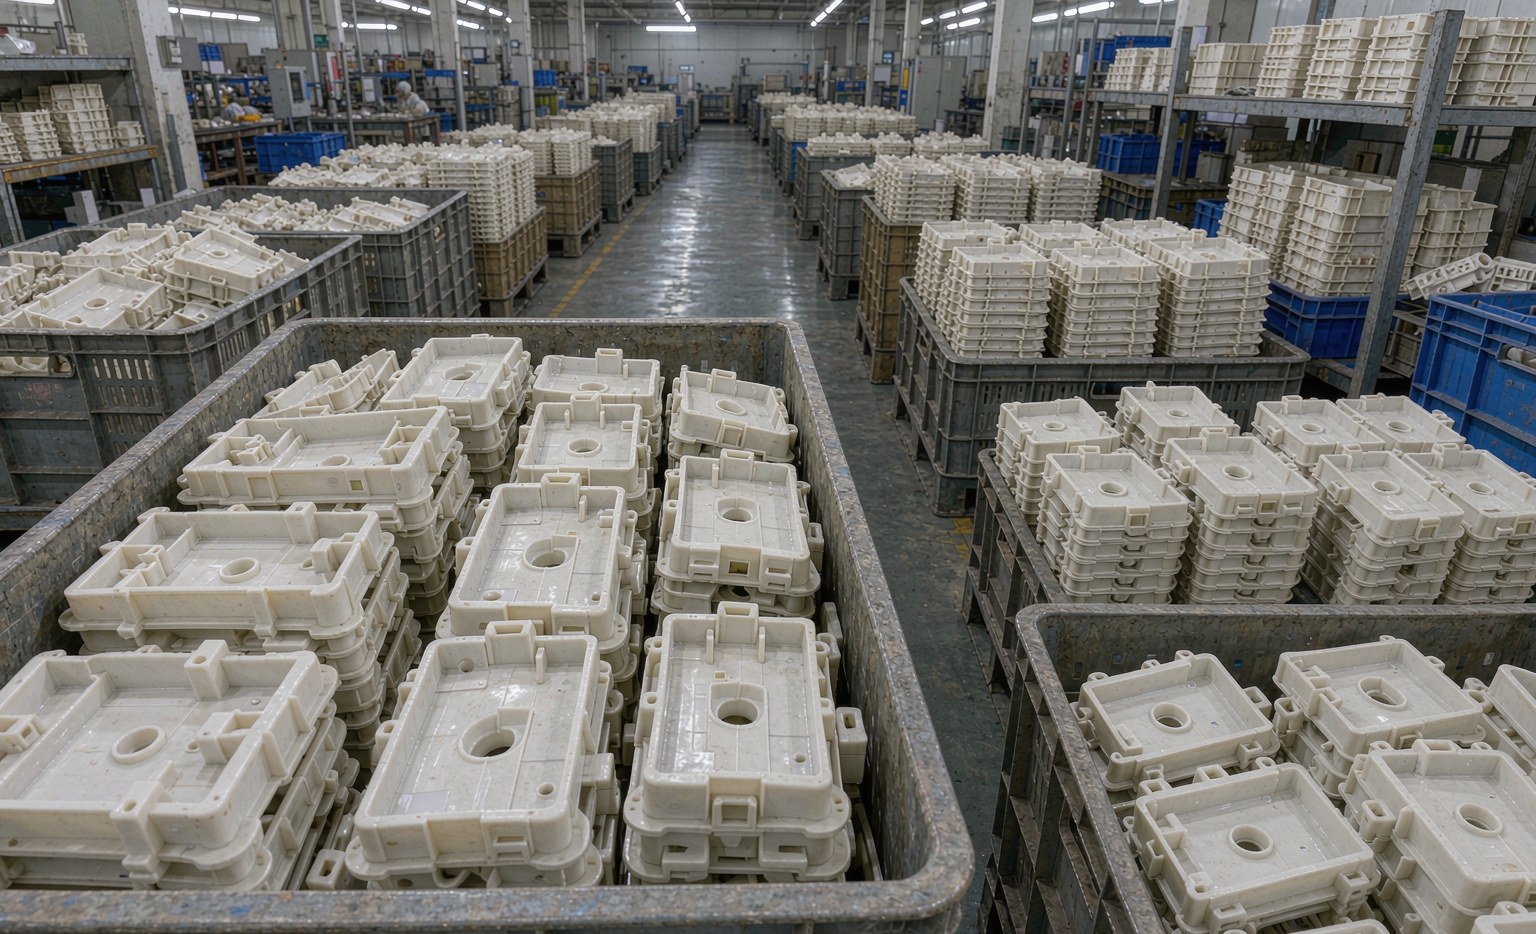
Ao longo de peças típicas de pequeno a médio porte, o ponto de compensação entre moldagem e impressão fica em torno de 100 a 1.000+ unidades, depending on part size, wall thickness and material. Below that band, the tooling cost dominates and printing is cheaper; above it, molding’s per-part economics take over.
For very large or complex tools the crossover shifts higher, and for very small simple parts it can drop below 100. The exact number is arithmetic once you know the tooling quote and the per-part prices.
Propriedades mecânicas e materiais
| Aspect | Moldagem por injeção | Impressão 3D |
|---|---|---|
| Strength | Isotropic, no layer lines | Anisotropic across layers |
| Surface finish | Tool-defined, repeatable | Layer lines unless finished |
| Material range | Most thermoplastics + some thermosets | PLA, ABS, nylon, resin, PEEK, metals |
| Geometry freedom | Needs draft, no undercuts without slides | Lattices, conformal channels |
Qual escolher
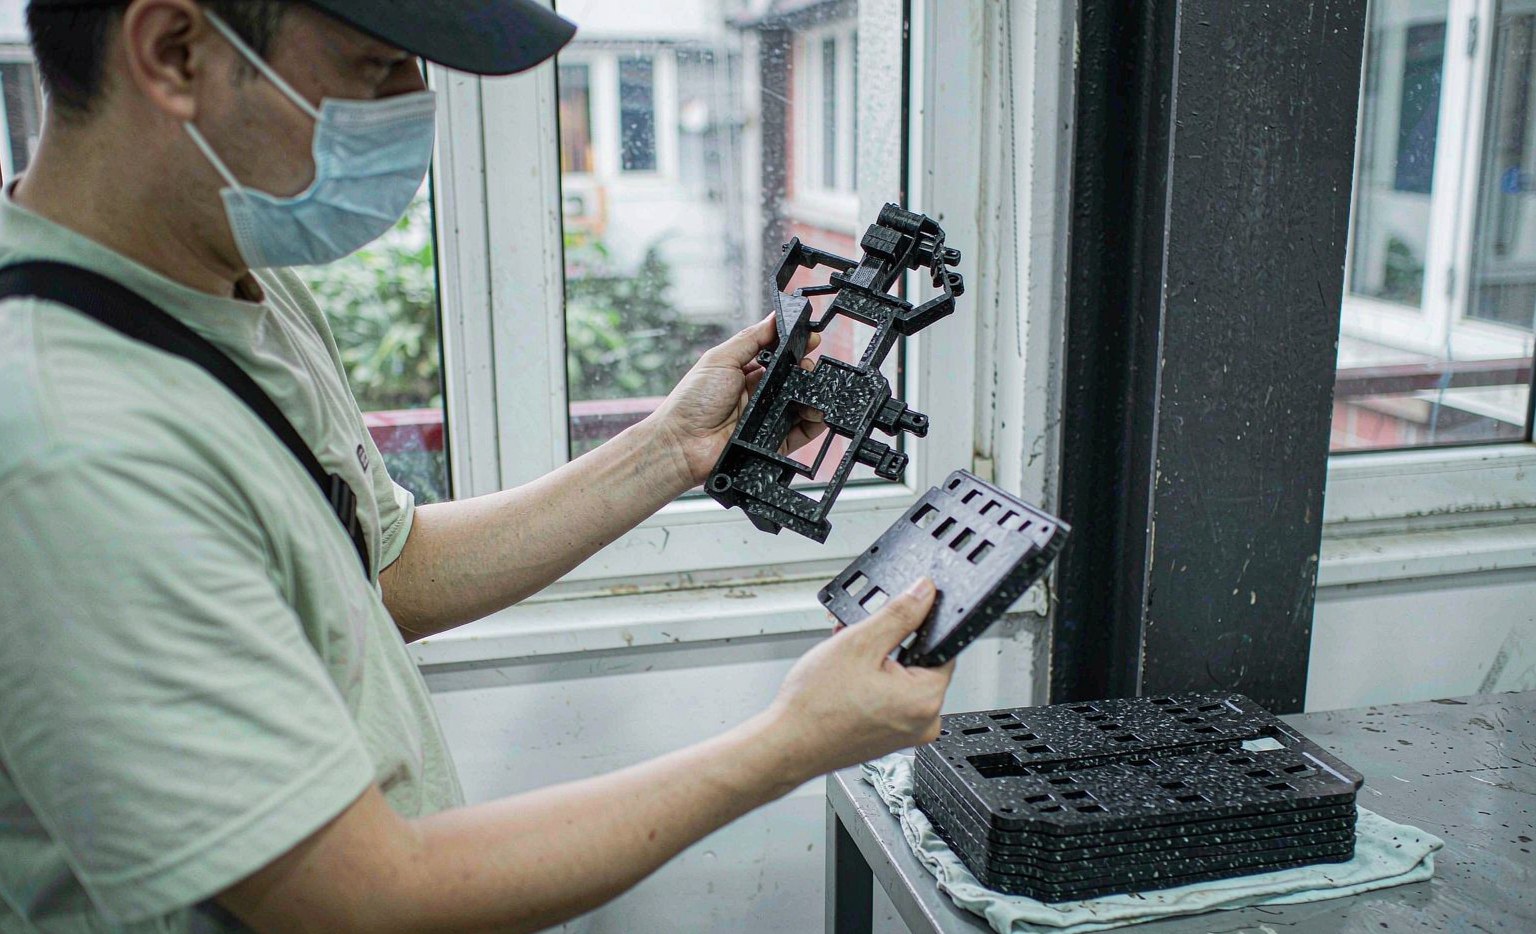
- Escolha a impressão 3D para protótipos, gabaritos, peças personalizadas de baixo volume e geometrias que são difíceis de moldar (refrigeração conformal, grades internas).
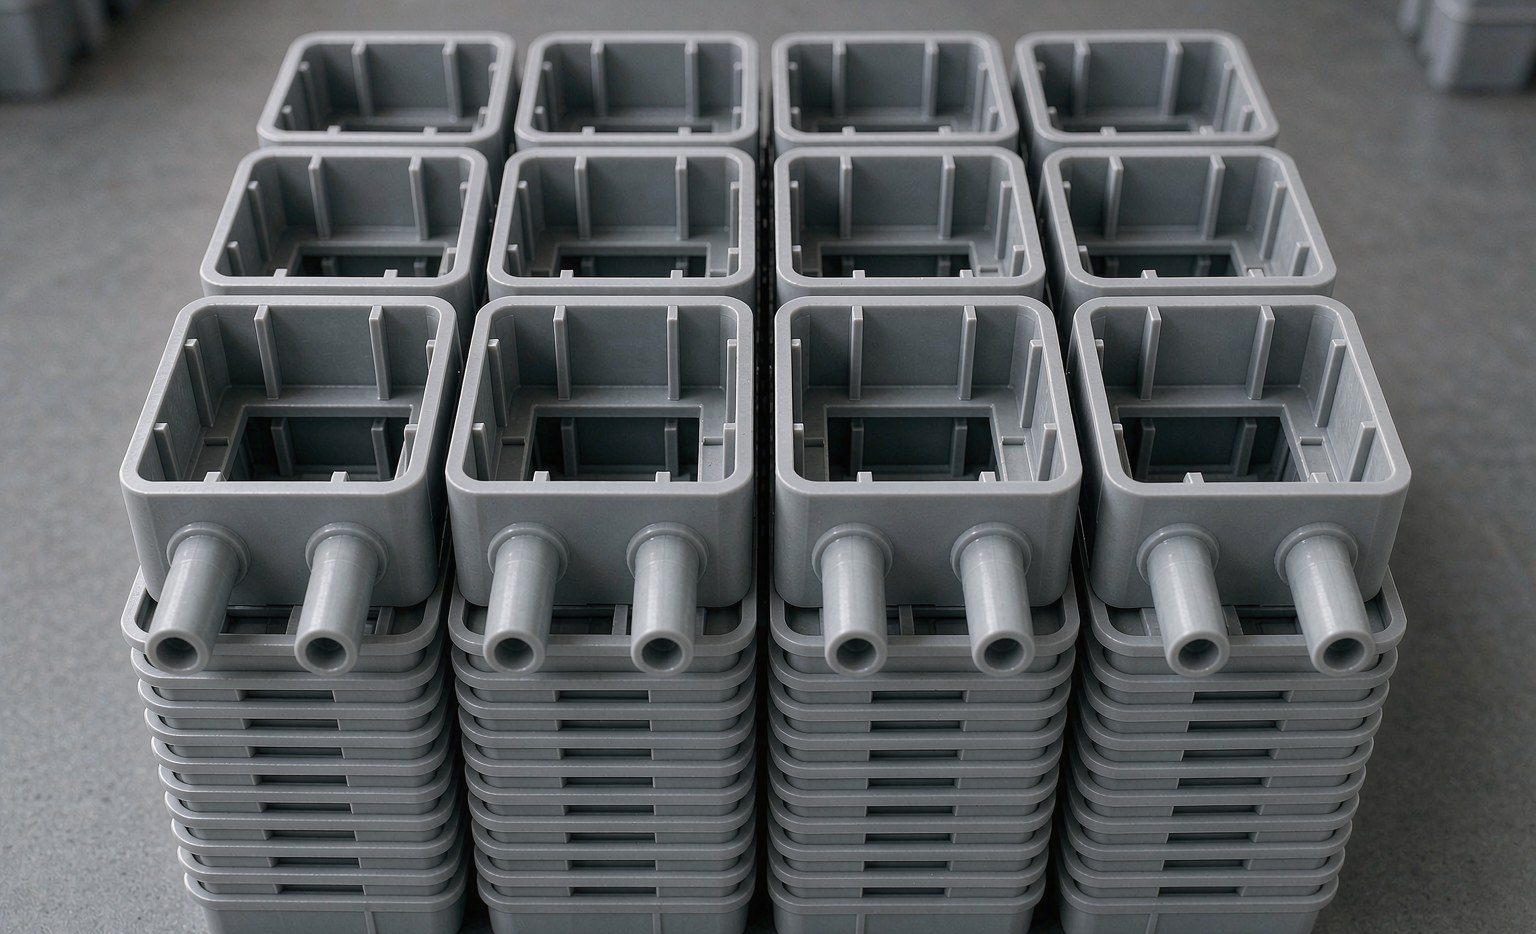
- Escolha a moldagem por injeção para qualquer lote acima do ponto de compensação, onde custo por unidade, consistência mecânica e acabamento superficial importam.
Printing also wins whenever the design may still change, because a design change costs nothing in tooling; molding locks the design in steel, so it belongs after the design is frozen.
Many programs use both: print for validation and bridge production, then move to molding once the design and volume justify the tool. The mistake to avoid is committing to molding too early (for a part that may change) or to printing too late (paying per-part premiums at scale). Put the volume on one side of the crossover and the process follows.
FAQ
At what volume should I switch to molding? Roughly a few hundred to a thousand units for typical parts, once the design is frozen.
Is printed plastic as strong as molded? Usually not across layers; molded parts are largely isotropic and better in load-bearing use.
Can I mold a 3D-printed design directly? Only after adding draft and removing undercuts; printing tolerates geometry molding cannot.
Does tooling cost scale with part size? Yes — large parts need bigger molds and presses, pushing both tooling and machine cost up.
What about bridge production? Print bridge quantities while the tool is cut, then switch; it keeps launch on schedule.
Is surface finish a hidden cost? Often — printed parts may need sanding or vapor smoothing that erodes the apparent cost advantage.
When the crossover moves
The break-even volume is not fixed. A larger part needs a bigger mold and press, so tooling rises and the crossover shifts up; a small, simple part can cross over below a hundred units. Material also matters: an engineering resin that prints poorly but molds cheaply tips the balance toward molding sooner, while a part needing a lattice or conformal cooling stays a printing job at almost any volume.
Worked cost example
Assume a part printing at $8 each and molding at $0.60 each with a $6,000 tool. The break-even is 6,000 / (8 − 0.60) ≈ 810 parts. Below that, print; above it, mold. Change the tool to $20,000 and the break-even rises to about 2,700 parts, which is why complex tools push the crossover higher.
The arithmetic is simple; the difficulty is estimating the tooling quote and the real printed part cost (including post-processing) before committing.
Hybrid approaches
Many teams print a functional prototype, then use the same printer for bridge production while the mold is cut, so launch is not delayed by tool lead time. Others mold the high-volume core and print the low-volume variants or personalization on demand — a combination that captures both economies.