



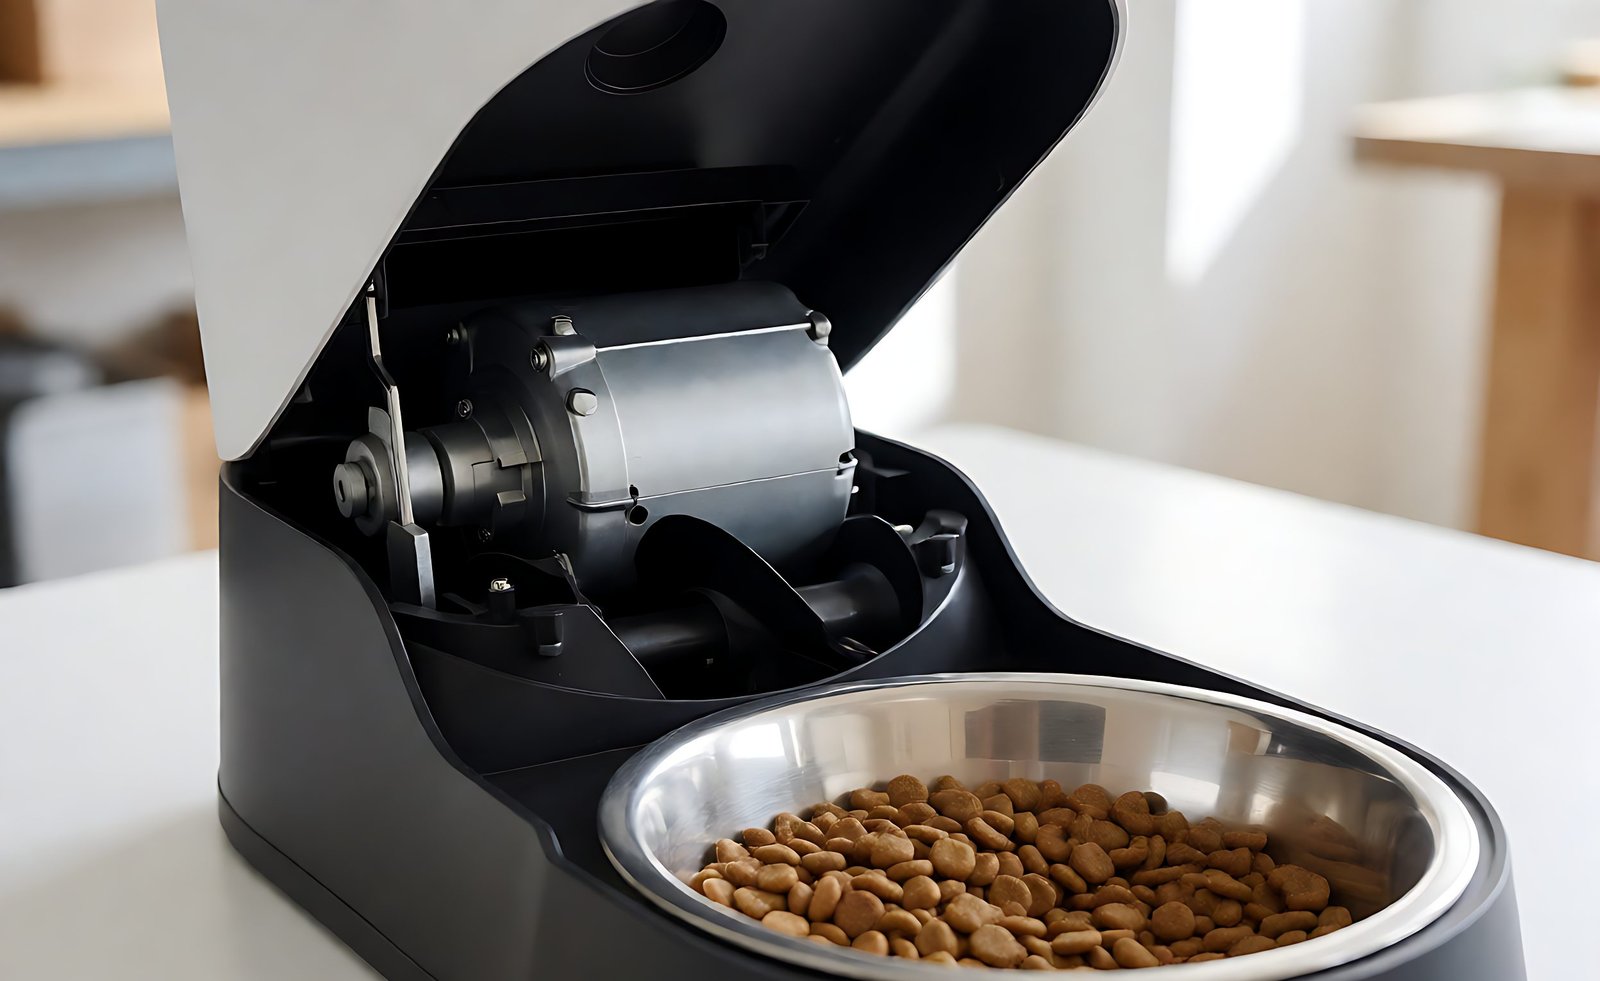
For a private-label automatic pet feeder, specify the motor, gearbox, auger and feed material as one dosing system. Motor type alone does not establish portion accuracy or service life. Define the intended feeding schedule, target portion range, food types, hopper conditions and user-visible jam behaviour, then verify those requirements on the production-intent feeder.
Define Feeder Duty Before Selecting a Drive
In the RFQ, state the planned dispense schedule, minimum and maximum portion, target foods and kibble-size range, hopper capacity and fill conditions, supply voltage, and any requirements for sound, app notification or backup operation. If the product is intended for multiple food types or regions, identify the representative samples and operating conditions that the buyer and supplier will use.
Use those requirements to compare complete drive assemblies. Brushed, brushless and stepper motors are design options, not a universal ranking. Ask the supplier to identify the selected motor and gearbox, gear ratio, output speed, available torque at the auger shaft under stated conditions, electrical input and control method. Confirm that the chosen assembly fits the expected feed load and duty cycle on the finished feeder.
Match the Auger to the Intended Food
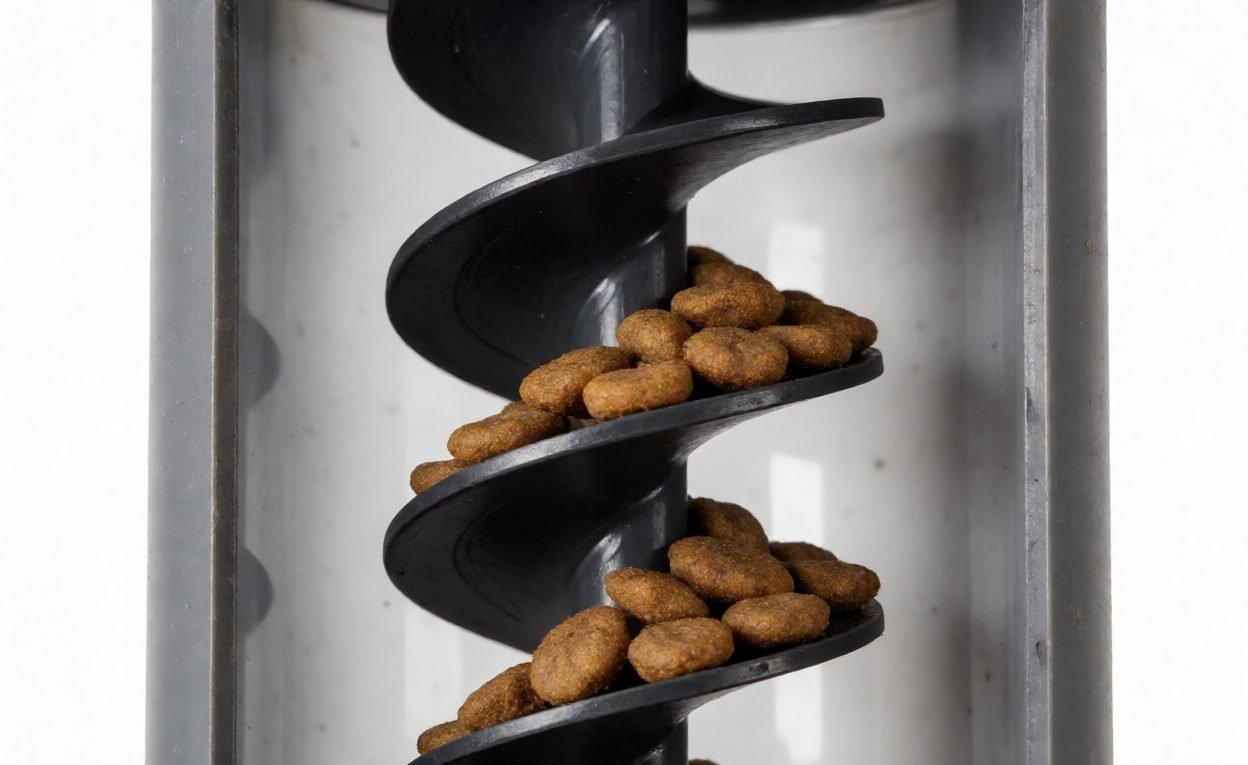
Record auger and tube dimensions, pitch, clearance, outlet geometry, material and revision. These are useful design inputs, but they do not prove how a specific food will dispense. Define the supported food samples by type and size range, then test the assembled feeder at the hopper levels and target portions in the product specification.
Weigh each dispensing during the agreed sample plan. Record the feeder settings, food sample, hopper level, requested portion and measured mass, along with incomplete doses, bridging, crushing, leakage or other observed outcomes. Compare multiple food samples only when they are intended to be supported by the same model. This gives the buyer a traceable basis for a portion claim instead of assuming one auger handles every kibble shape equally.
Identify the material specifications for the auger, tube and other parts that contact feed, together with the cleaning and assembly instructions. Where surface finish, wear or dimensional tolerance matters to the project, write the requirement and inspection method into the drawing or approval record.
Specify Jam Detection and Recovery Behaviour
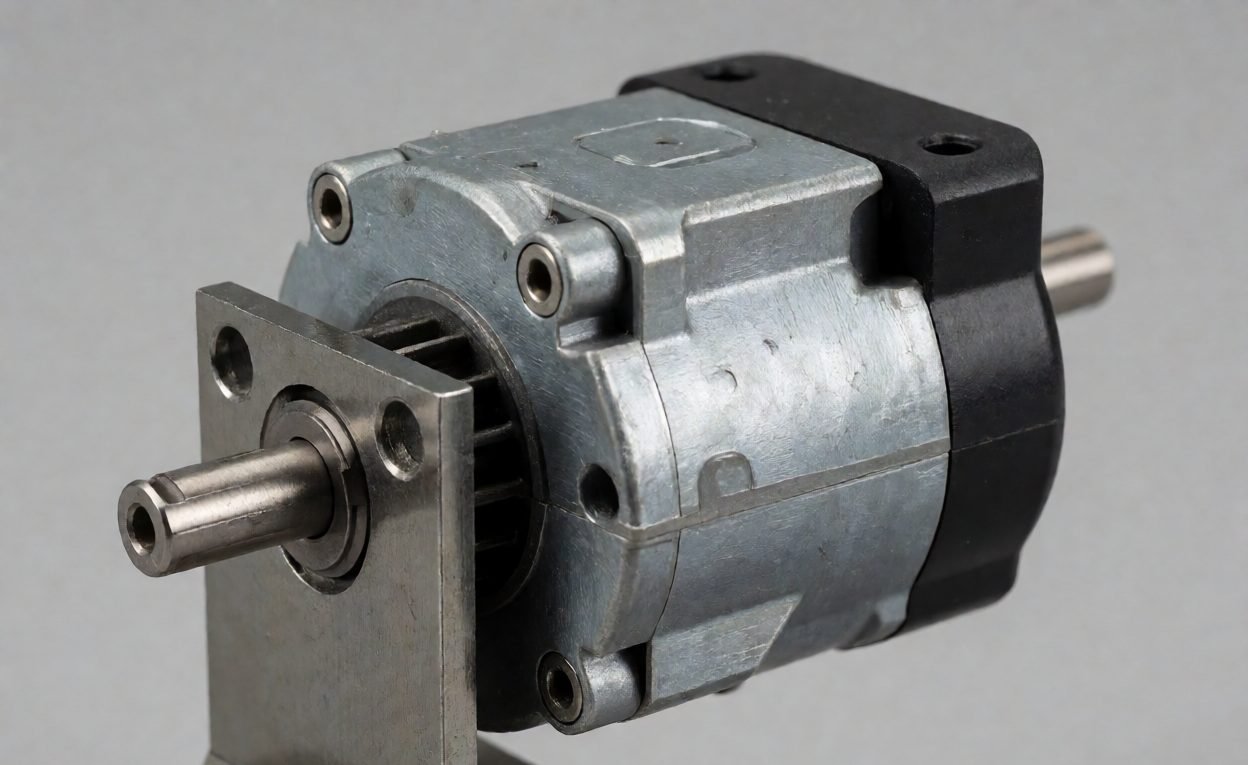
Define the product response for a stalled or incomplete dispense. Depending on the design, requirements may cover stopping the drive, a limited reverse or retry sequence, a user alert, an error state or a service instruction. Agree which behaviours the selected model supports; do not assume a particular recovery sequence is suitable for every feeder.
For any jam test, use the buyer-approved food and controlled conditions stated in the protocol. Record the trigger condition, detection method, retries, final state, alert or error shown, and whether the commanded portion was actually delivered. Check that the meal history and app status describe the observed dispense outcome, including the difference between an attempted and completed feed where the product reports those events.
After a jam or recovery sequence, weigh the next dispense under the same agreed settings. This reveals whether the selected mechanism returns to normal dosing or needs a defined reset or user instruction. Set the acceptance rule with the supplier before approval.
Build an Endurance Plan That Fits the Product
Choose the cycle count and sample plan for the intended duty profile and qualification goal. There is no universal cycle figure that proves a feeder will last a set number of calendar years. If the product has a service-life claim, document the assumed feeds per day, portion settings, supported food, environmental conditions and the test evidence behind the claim.
- Run the planned dispense cycle on production-intent units with representative foods and hopper levels.
- Record completed and incomplete doses, jams, resets, service events and any visible wear.
- Weigh portions at agreed checkpoints and compare them with the approved baseline and tolerance.
- Run separately defined, controlled jam and recovery checks; record the trigger and resulting feeder state.
- If sound, current draw or temperature is a project requirement, record it with the measurement setup and operating condition.
- Agree in advance how failures, interruptions, sample replacement and acceptance will be handled.
Do not turn a cycle count into a calendar-life guarantee unless the intended duty assumptions and supporting evidence justify that statement. Keep the test report with the approved motor, gearbox, auger, food samples, settings and firmware or controller revision.
Motor and Auger RFQ Checklist
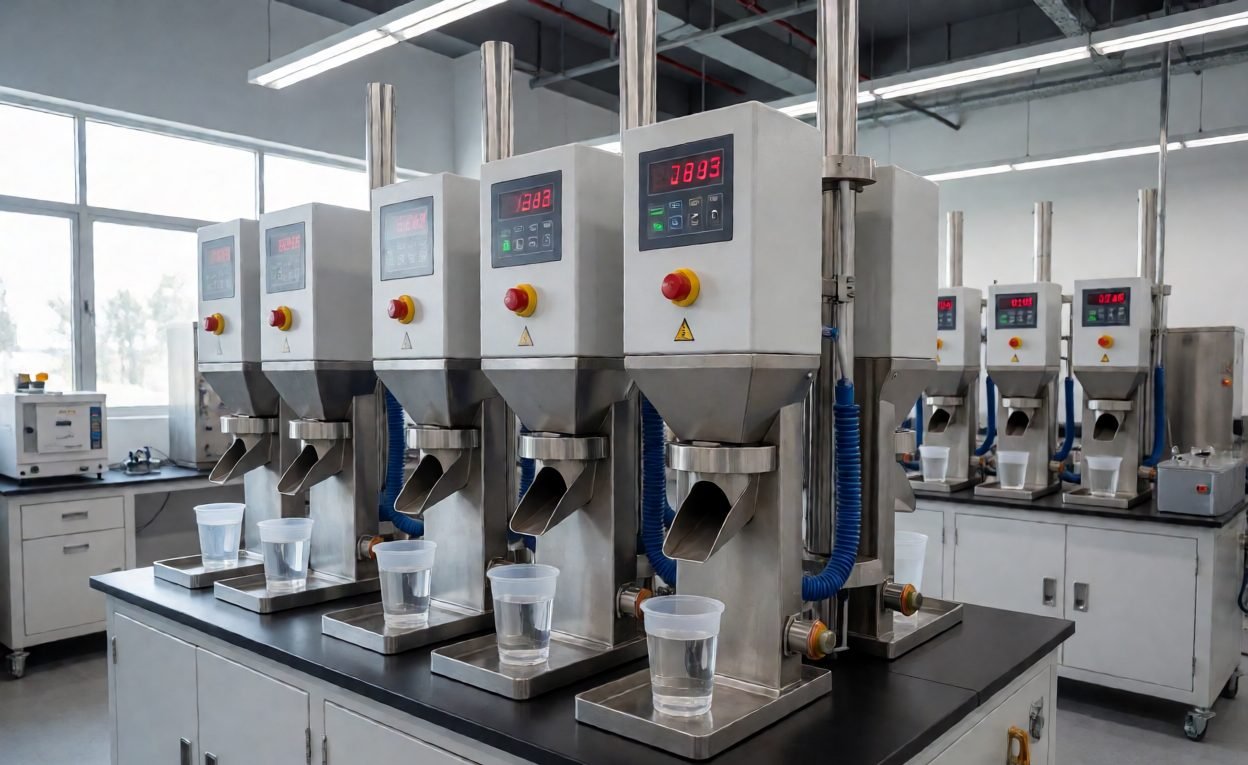
- Motor and gearbox supplier, part numbers, ratio, output speed, shaft torque data and operating conditions.
- Feeder settings, meal schedule, portion range, voltage and target use profile.
- Auger, tube and outlet dimensions, material specifications, tolerance and approved revisions.
- Supported food samples, size range, hopper levels and the method for weighing delivered portions.
- Jam detection, recovery, user notification and meal-history requirements for the selected model.
- Cycle and sample plan, checkpoints, acceptance criteria and evidence required for any service-life claim.
- Change-control requirements for motor, gearbox, auger, tube, controller, firmware or supported food.
Portion measurement and calibration are covered in the feeder portion-accuracy guide; sample handling and jam cases are discussed in the jam-testing guide. See also the power-backup guide, app and connectivity requirements and automatic feeder OEM guide. For a product programme, visit DAYIN’s pet feeder OEM/ODM manufacturing page or contact DAYIN.
Frequently Asked Questions
Which motor type is best for an automatic pet feeder?
There is no universal best type. Compare the motor, gearbox and auger as one assembly against the intended food, portion range, schedule, controls and acceptance plan.
What motor and gearbox data should an OEM RFQ include?
Identify the motor and gearbox, part numbers, ratio, output speed, torque data at the auger shaft, electrical input, control method and the conditions behind the supplier data.
How should a buyer compare auger designs?
Specify the intended food samples, size range, hopper conditions and portions. Weigh dispensed food on the finished feeder and record jams, incomplete doses and other observed outcomes.
What should happen after a feeder jam?
Define the selected model’s response, such as stopping, limited recovery attempts, user notification or a service instruction. Record whether the requested portion was completed and what the product reports.
How many endurance cycles prove a feeder lasts a year?
No single cycle count proves a calendar service life. Set a project-specific plan and document the assumed feeds per day, conditions, sample size, failures and portion results behind any service-life claim.
Should a jam be tested during sample approval?
If jam handling is a product requirement, include controlled buyer-approved conditions in the test plan. Record detection, recovery attempts, final state, dose outcome and the next dispensing result.
Can a stepper motor guarantee accurate portions?
No motor type guarantees a finished-product result by itself. Validate the complete feeder with representative foods, settings and hopper levels, and retain the measured results for the portion claim.