



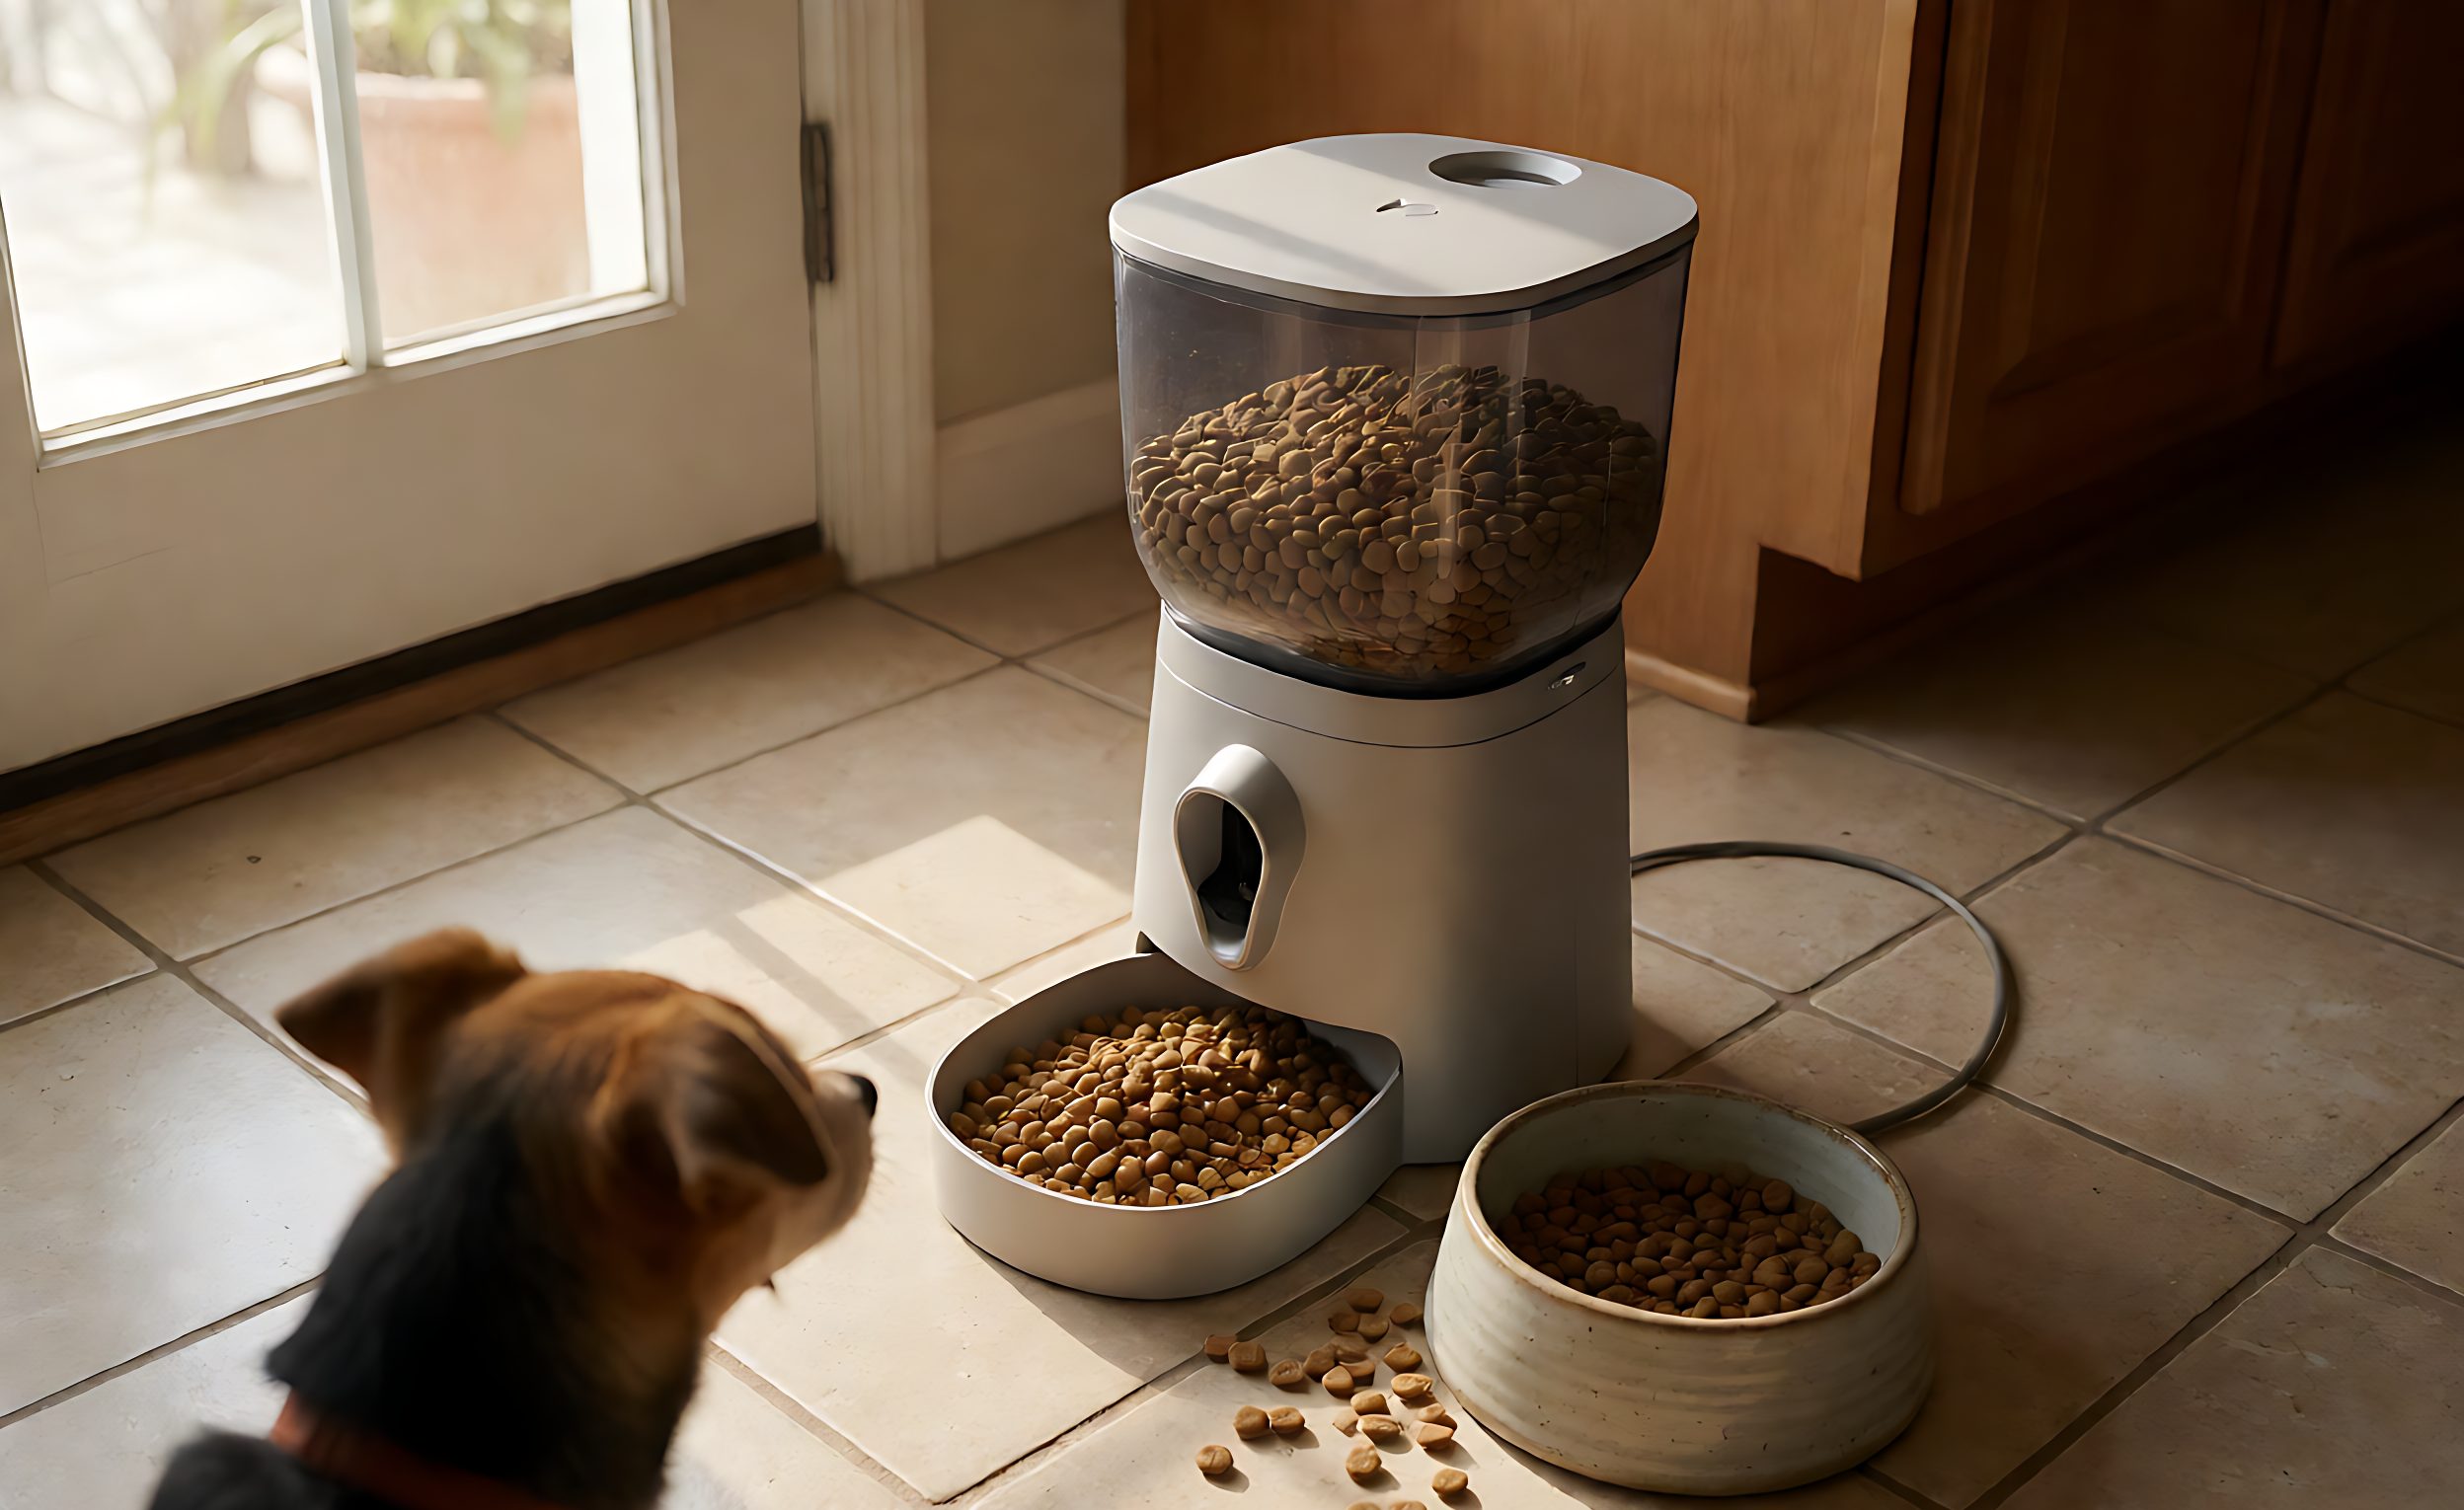
Read the one-star reviews on any automatic pet feeder and the same complaint repeats in different words: the portions are wrong. Sometimes it dispenses more than the setting, sometimes less, sometimes nothing at all. For a product whose entire promise is that a pet gets fed the right amount at the right time, portion accuracy is not a feature. It is the product.
Buyers evaluating a feeder often test it for a day and conclude it works, because the motor turns and food comes out. That is the wrong test. What matters is repeatability across many portions, across different kibble shapes, and after weeks of use with a partly empty hopper. This guide explains how portioning mechanisms work, what accuracy to demand in a specification, the four jam modes that cause most failures, and a test protocol you can run on a sample before placing an order.
How Portioning Actually Works
Three mechanisms cover most of the market, and they fail in different ways.
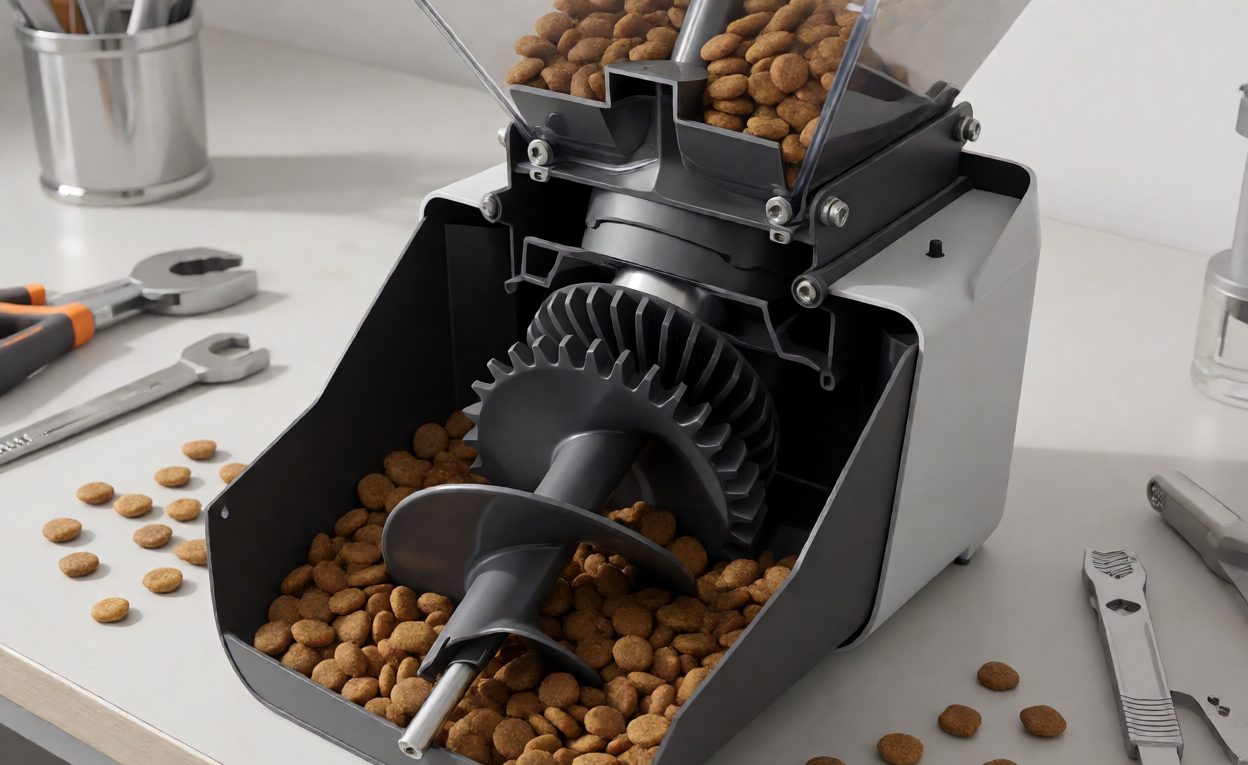
Auger or screw conveyor. A rotating screw inside a tube moves kibble from the hopper to the outlet. Portion size is controlled by rotation time or by counting motor steps. It handles a wide range of kibble sizes, is cheap to mold, and is the most common design. Its accuracy depends on fill level in the hopper: a full hopper feeds the auger more efficiently than a nearly empty one, so the same rotation time delivers a different mass.
Rotary impeller or drum. A segmented wheel rotates and drops a fixed volume from each pocket. This gives excellent repeatability by volume, because each pocket holds the same amount regardless of hopper level. It is less tolerant of kibble size variation: a pocket sized for large kibble under-fills with small kibble, and small kibble can leak between pockets.
Drop gate or sliding tray. A gate opens for a set time and food falls through. It is simple and cheap, but accuracy is poor and it is sensitive to bridging, where kibble forms an arch above the gate and stops flowing.
Most low-cost feeders use an auger with time-based control, which is the least accurate combination. Stepping up to step-counting control, or to an impeller with a matched kibble size, is where accuracy actually improves.
Accuracy Metrics Worth Writing Into a Specification
“One cup” is not a specification. Volume varies with kibble density and shape, sometimes by thirty percent between two brands of the same nominal size. Specify these instead.
- Repeatability: the spread of delivered mass over ten consecutive portions at one setting. Demand within plus or minus five percent of the mean for a mid-range feeder, plus or minus eight percent for an entry model.
- Setpoint accuracy: the mean delivered mass against the stated portion mass for a named reference kibble. State the kibble used, because a specification without the test medium is meaningless.
- First-portion error: the first portion after filling is usually the largest, because the auger is primed. Accept no more than ten percent over the mean.
- Low-level drift: repeatability measured with the hopper at twenty percent capacity. This is where auger designs diverge from impeller designs.
- Missed portion rate: the percentage of commanded portions that deliver less than half the target mass. This should be under one percent across a seventy-two hour run.
The OEM guide for automatic feeders covers the wider programme, but portion accuracy is the one specification worth arguing hardest about, because it drives the review score that drives everything else.
Four Jam Modes and Their Root Causes
Jams are not random. They cluster into four patterns, and each points at a design decision.
Bridging. Kibble forms an arch above the auger intake and stops flowing. The cause is usually hopper geometry: a hopper with a shallow angle or a wide flat bottom lets kibble rest on itself instead of sliding. A hopper wall angle steeper than the kibble’s angle of repose, plus a slight taper toward the intake, prevents most bridging.
Wedging. A single large kibble jams between the auger flight and the tube wall. The cause is a mismatch between auger pitch, flight depth and the largest kibble the product claims to handle. If the marketing says “works with all kibble sizes”, the auger has to be sized for the largest one, which reduces accuracy for small kibble.
Crumbling. Soft or fragile kibble breaks in the auger and compacts into a paste that blocks the outlet. No mechanical fix works well here; the answer is either a gentler mechanism or an honest statement of the kibble types the feeder supports.
Moisture caking. Humidity enters through the lid or the outlet and kibble cakes at the dispense point. A lid seal and a desiccant compartment are cheap; a feeder without either will fail in a humid climate, which is a large part of the market.
Sensors and Failure Detection
A feeder that jams silently is worse than one that jams loudly. Four signals are worth requiring.
- Motor current sensing: a rise in current indicates a jam before the motor stalls. It is the cheapest and most effective detection method.
- Bowl sensor: an infrared or weight sensor confirms food actually arrived, which closes the loop that time-based control leaves open.
- Hopper level sensing: a simple optical or weight check prevents the “it ran out and nobody noticed” failure.
- Lid and latch sensing: confirms the hopper is closed, which is both a freshness and a jam-prevention signal.
Smart home integration adds a fifth layer, because a feeder that reports a jam to an app is materially better than one that reports nothing. But the app cannot fix a mechanism that jams every week, and buyers should resist treating connectivity as a substitute for mechanical reliability.
A Test Protocol You Can Run on a Sample
Two days of disciplined testing tells you more than a month of impressions.
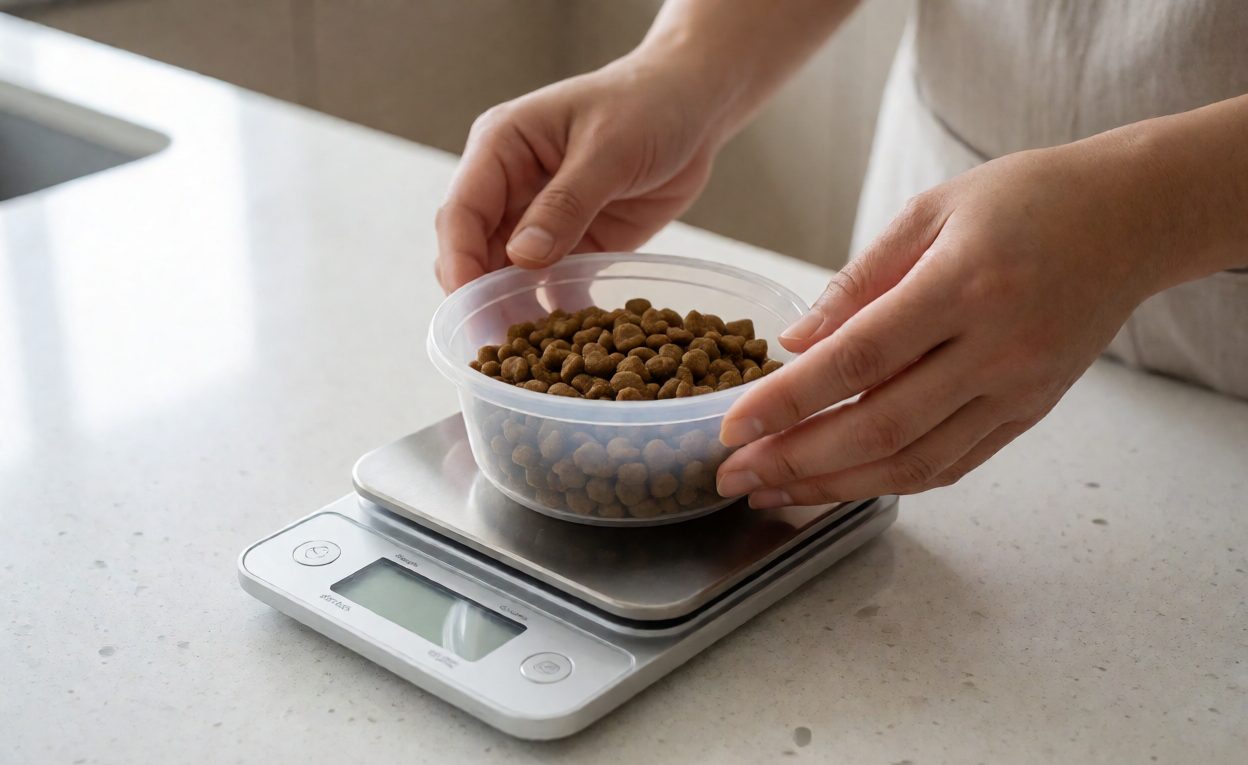
- Weigh ten consecutive portions on a kitchen scale at the mid setting and record individual masses, not just the average.
- Repeat with the hopper at twenty percent capacity and compare the spread.
- Run the same test with three kibble shapes: small round, medium disc, large irregular. Record which one degrades accuracy fastest.
- Run a seventy-two hour continuous schedule and count missed portions.
- Deliberately create a bridge by filling to the top and dispensing twenty portions in a row, then inspect the hopper for arching.
- Leave the feeder in a humid room for a week with kibble loaded, then check the outlet for caking.
Connectivity problems are the second most common complaint after portioning, and they are worth testing on the same bench. A feeder that is mechanically sound but cannot stay on a network still generates support tickets, and the two failure modes often appear together in reviews of the same product.
Technical Background
The mechanism’s behaviour is governed by the physics of granular flow rather than by electronics. A screw conveyor moves material at a rate proportional to its volumetric efficiency, and that efficiency falls as the inlet starves, which is the underlying reason an auger feeder drifts as the hopper empties. Counting motor steps in a stepper motor improves the commanded-displacement side of the equation but cannot correct for a partially filled flight.
Detection closes the loop. A passive infrared sensor or a simple weight check confirms that material actually reached the bowl, converting an open-loop timer into a system that can report failure. That distinction, between commanding a portion and verifying one, separates a feeder that can be trusted unattended from one that cannot.

A Specification Checklist
Include these lines and suppliers will quote against the same requirements.
- Portion range in grams, with the reference kibble used for calibration named explicitly.
- Repeatability target at mid setting and at twenty percent hopper level.
- Maximum kibble diameter supported, stated as a hard limit rather than “all sizes”.
- Mechanism type: auger with step counting, impeller, or gate, named in the specification.
- Jam detection method and what the product does when it triggers.
- Hopper wall angle and lid seal specification, plus desiccant provision.
- Motor type, gearbox ratio and expected service life in portions.
- Test report contents: individual portion masses, kibble types used, duration and missed portion count.
Một máy cho ăn tự động cho thú cưng nên có độ chính xác như thế nào?
Within plus or minus five percent of the mean over ten consecutive portions is a reasonable mid-range target. Entry models often run at plus or minus eight percent, which still requires a consistent mechanism.
Why does my feeder dispense more as the hopper empties?
Usually the opposite: auger efficiency falls as the inlet starves, so portions get smaller. If portions grow, the control is time-based and the kibble is flowing more freely at low level, which points at a control rather than a mechanism problem.
What kibble size works best?
Medium disc-shaped kibble around eight to twelve millimetres feeds most reliably. Very small kibble leaks past impellers, and very large irregular kibble wedges in augers sized for the average.
Is a volume-based or weight-based feeder better?
Weight-based dispensing is more accurate across kibble types but costs more and adds a load cell. Volume-based is cheaper and repeatable if the kibble is consistent. Match the choice to how much kibble variation the customer will see.
How do I stop kibble bridging in the hopper?
Increase the hopper wall angle beyond the kibble angle of repose and taper the walls toward the intake. A wide flat-bottomed hopper is the usual cause of arching.
Do I need a bowl sensor?
It is the cheapest way to verify that food actually arrived, which converts an open-loop timer into a system that can report a jam. For an unattended feeder, it is close to essential.
What causes caking at the dispense point?
Humidity entering through the lid or outlet. A lid seal plus a small desiccant compartment prevents most of it, and both are inexpensive to add at the design stage.